
In this tutorial, we will cover the basic steps to build and deploy a new TigerAware study. This high-level overview will cover:
- Creating an administration account
- Creating a new project
- Adding surveys to the project
- Adding participants to the project
Creating an administration account
To create your researcher account on TigerAware, navigate to the management dashboard located at app.tigeraware.com, and click Register. Complete your username, email, password, and account type information. To have access to survey creation tools, select Administrator as an account type. You can learn more about account features here.
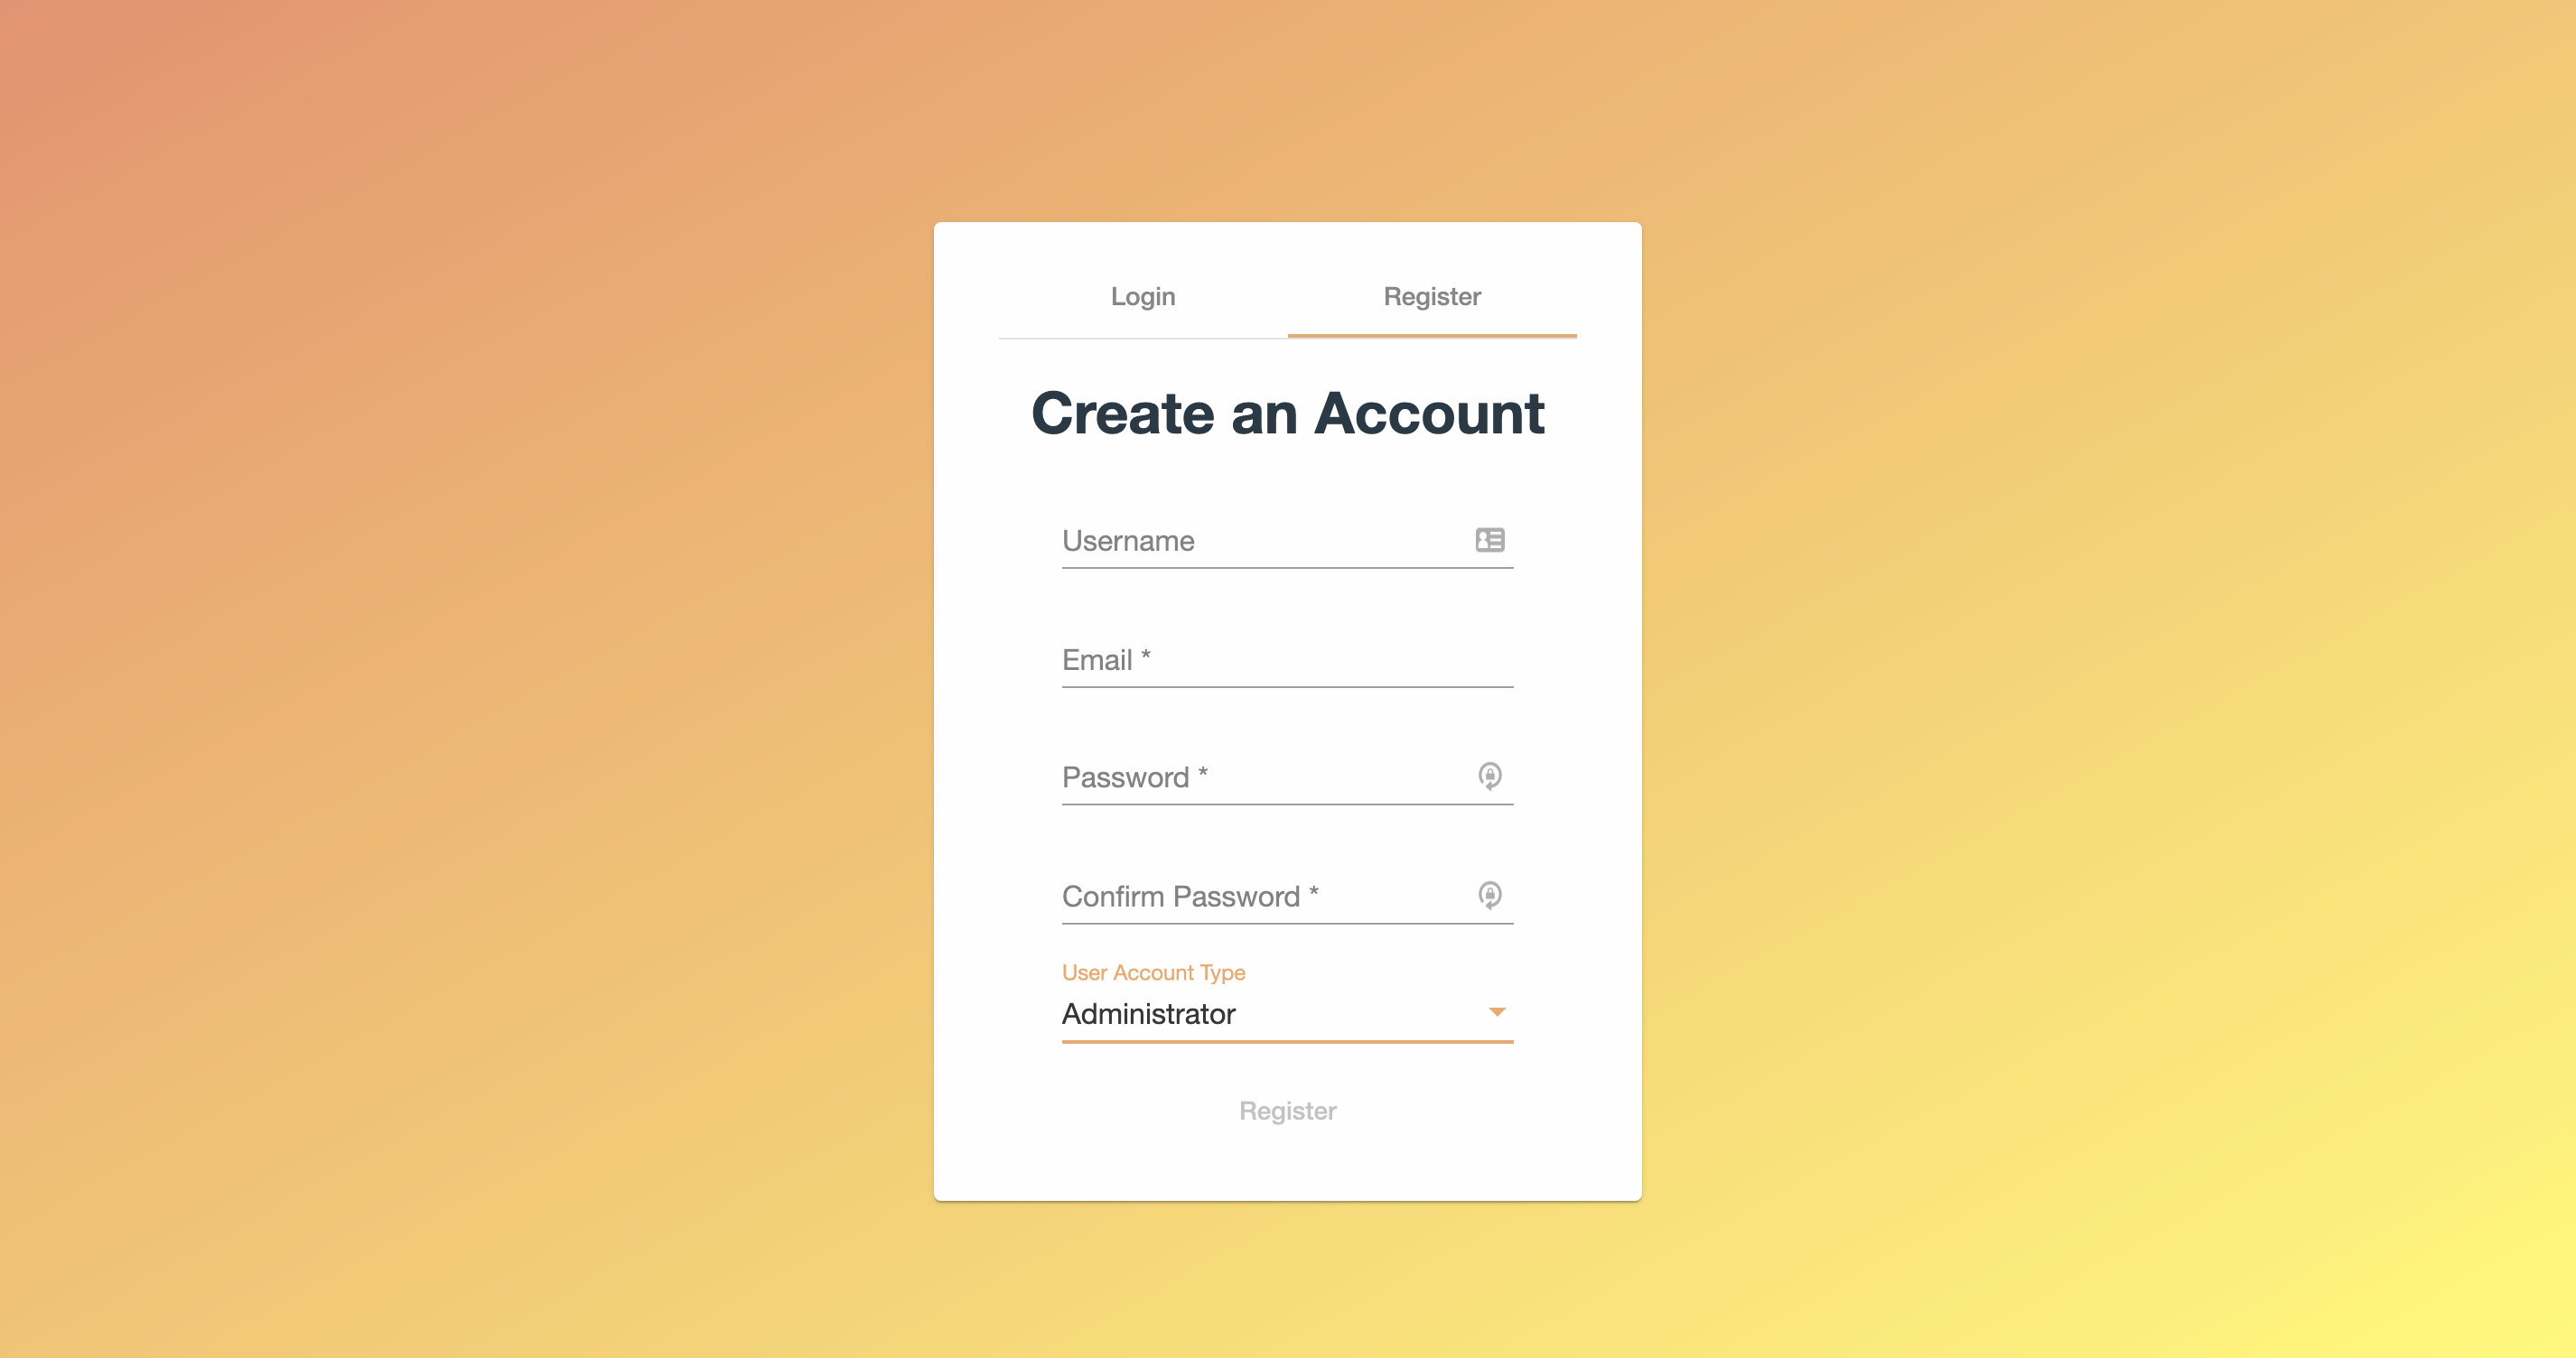
Once successful, you will be directed to the projects page, where you can create a new project for your study.
Creating a new project
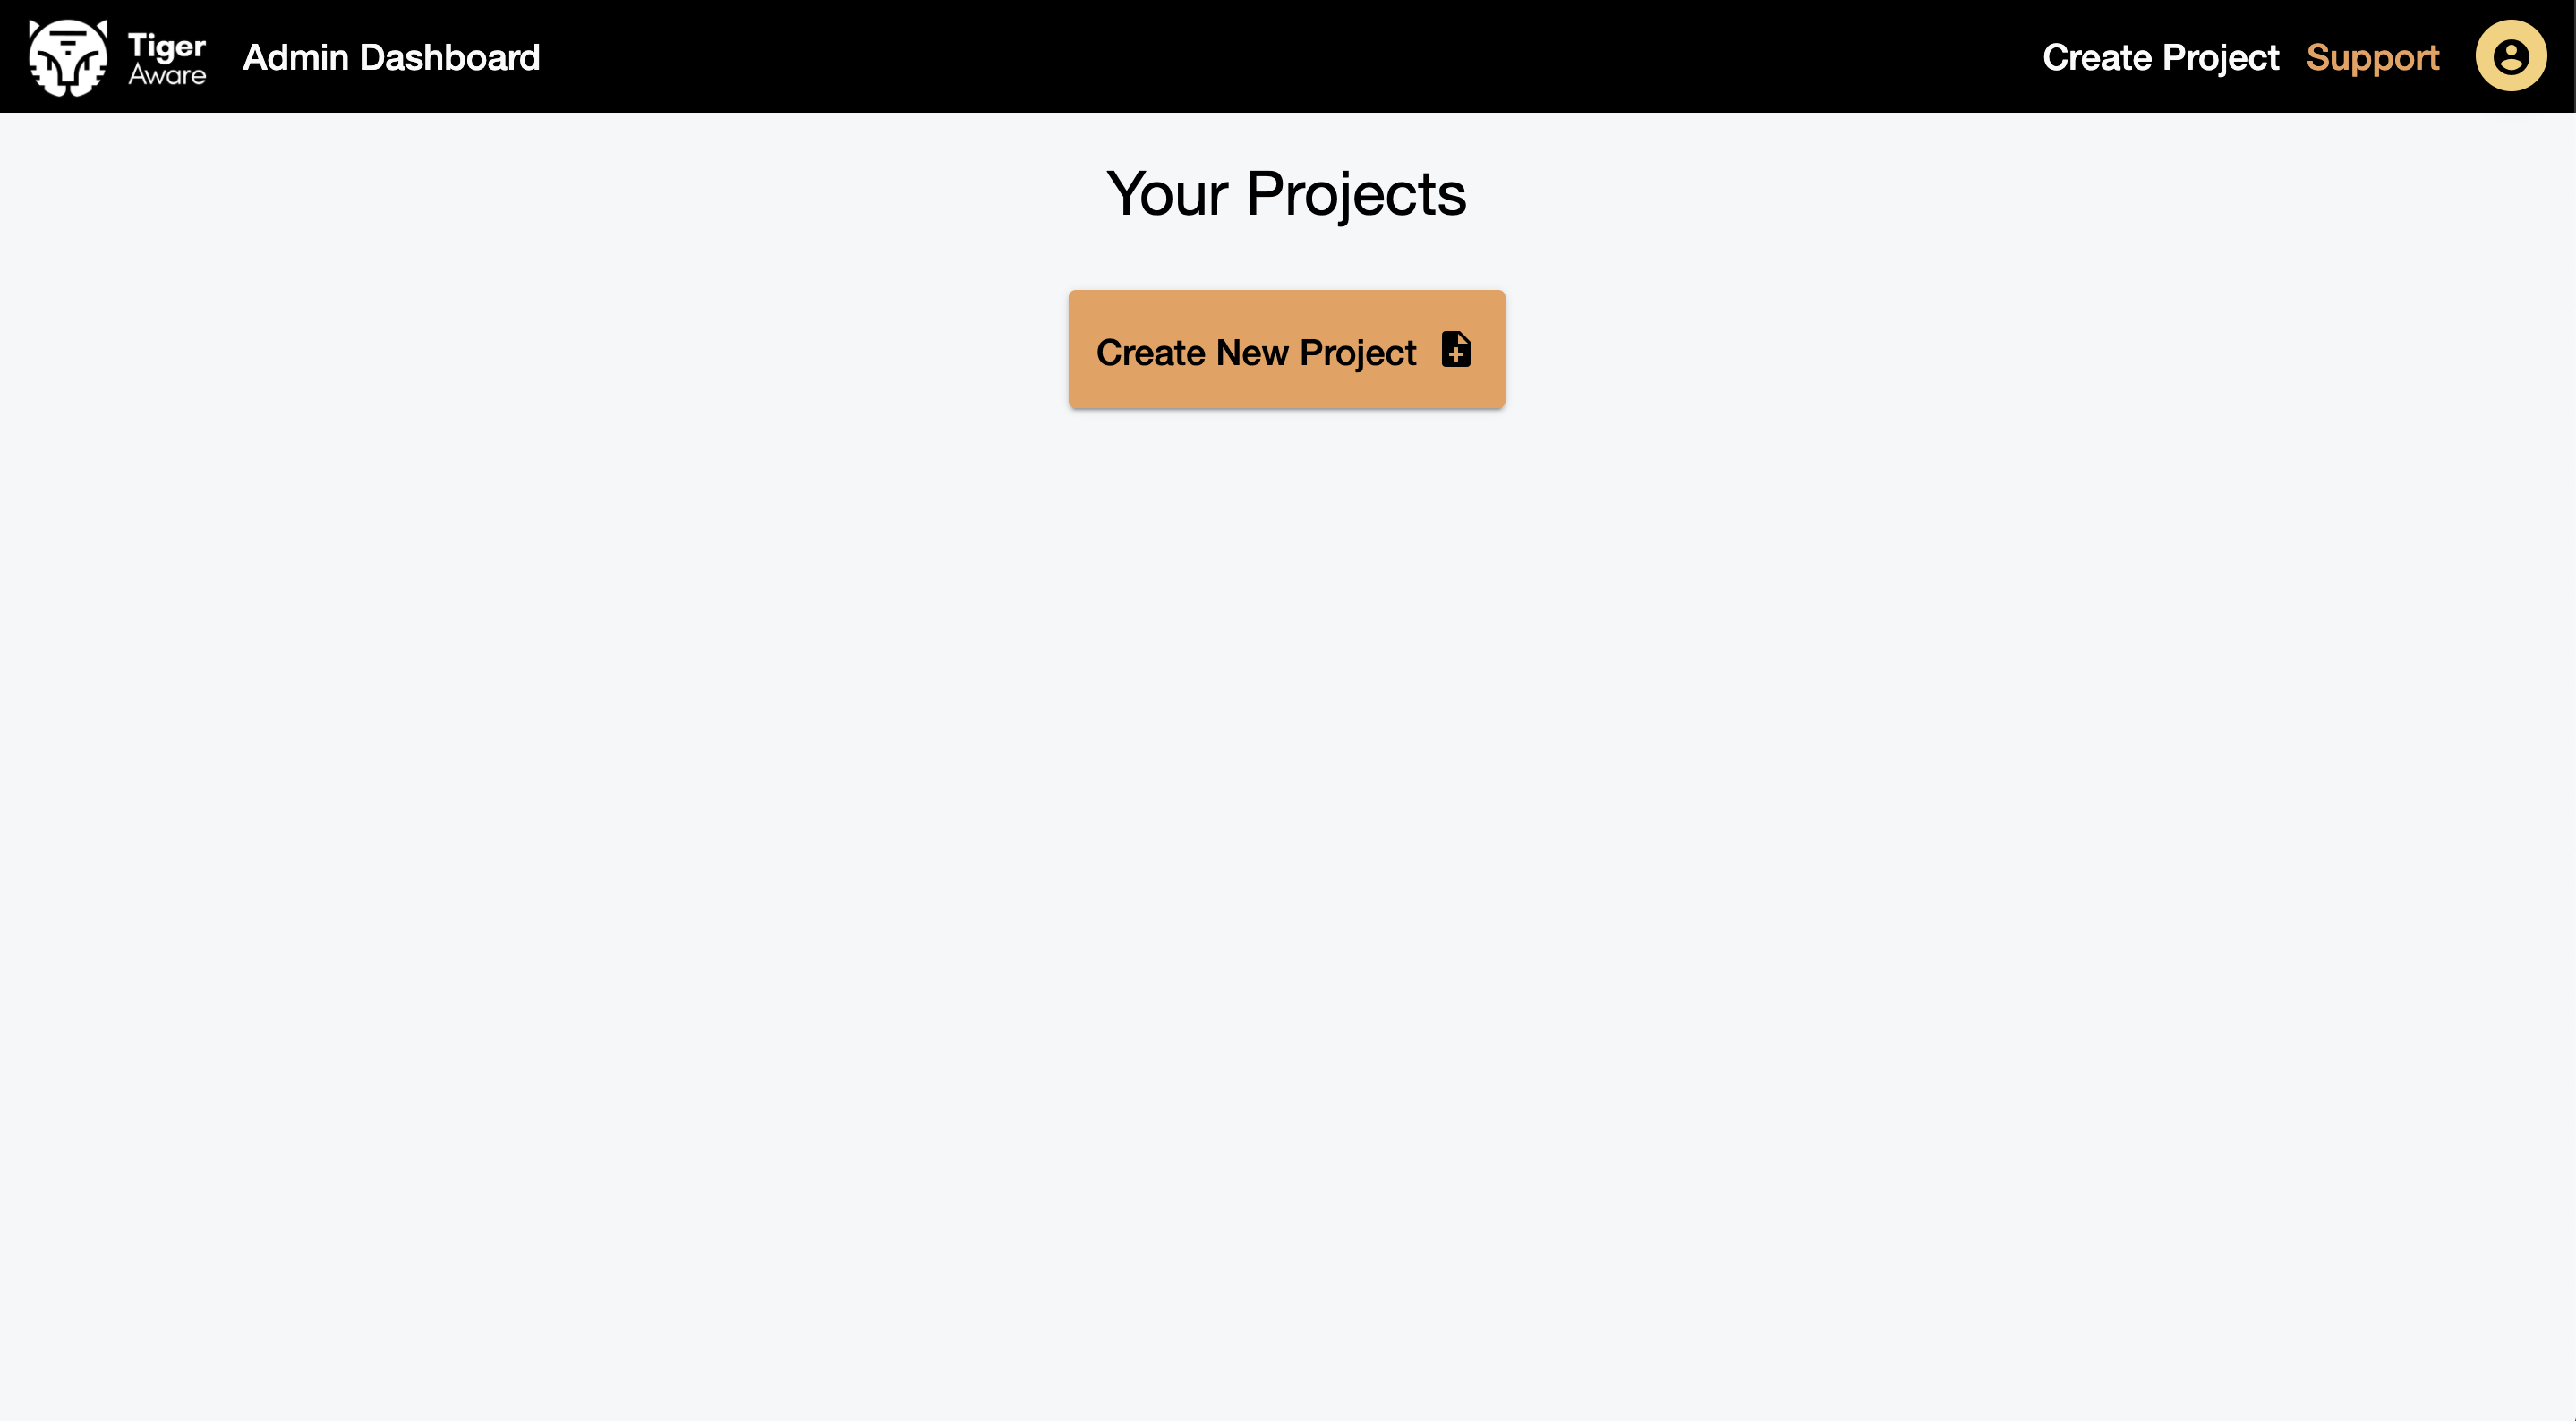
Now that you have created a new admin account, you are ready to create your first project. A project is a collection of surveys, administrators, and participants that you can use to easily configure your survey, manage participant progress, and export results. To create your first project, click "Create New Project" on the projects page. You will then be able to configure your project settings.
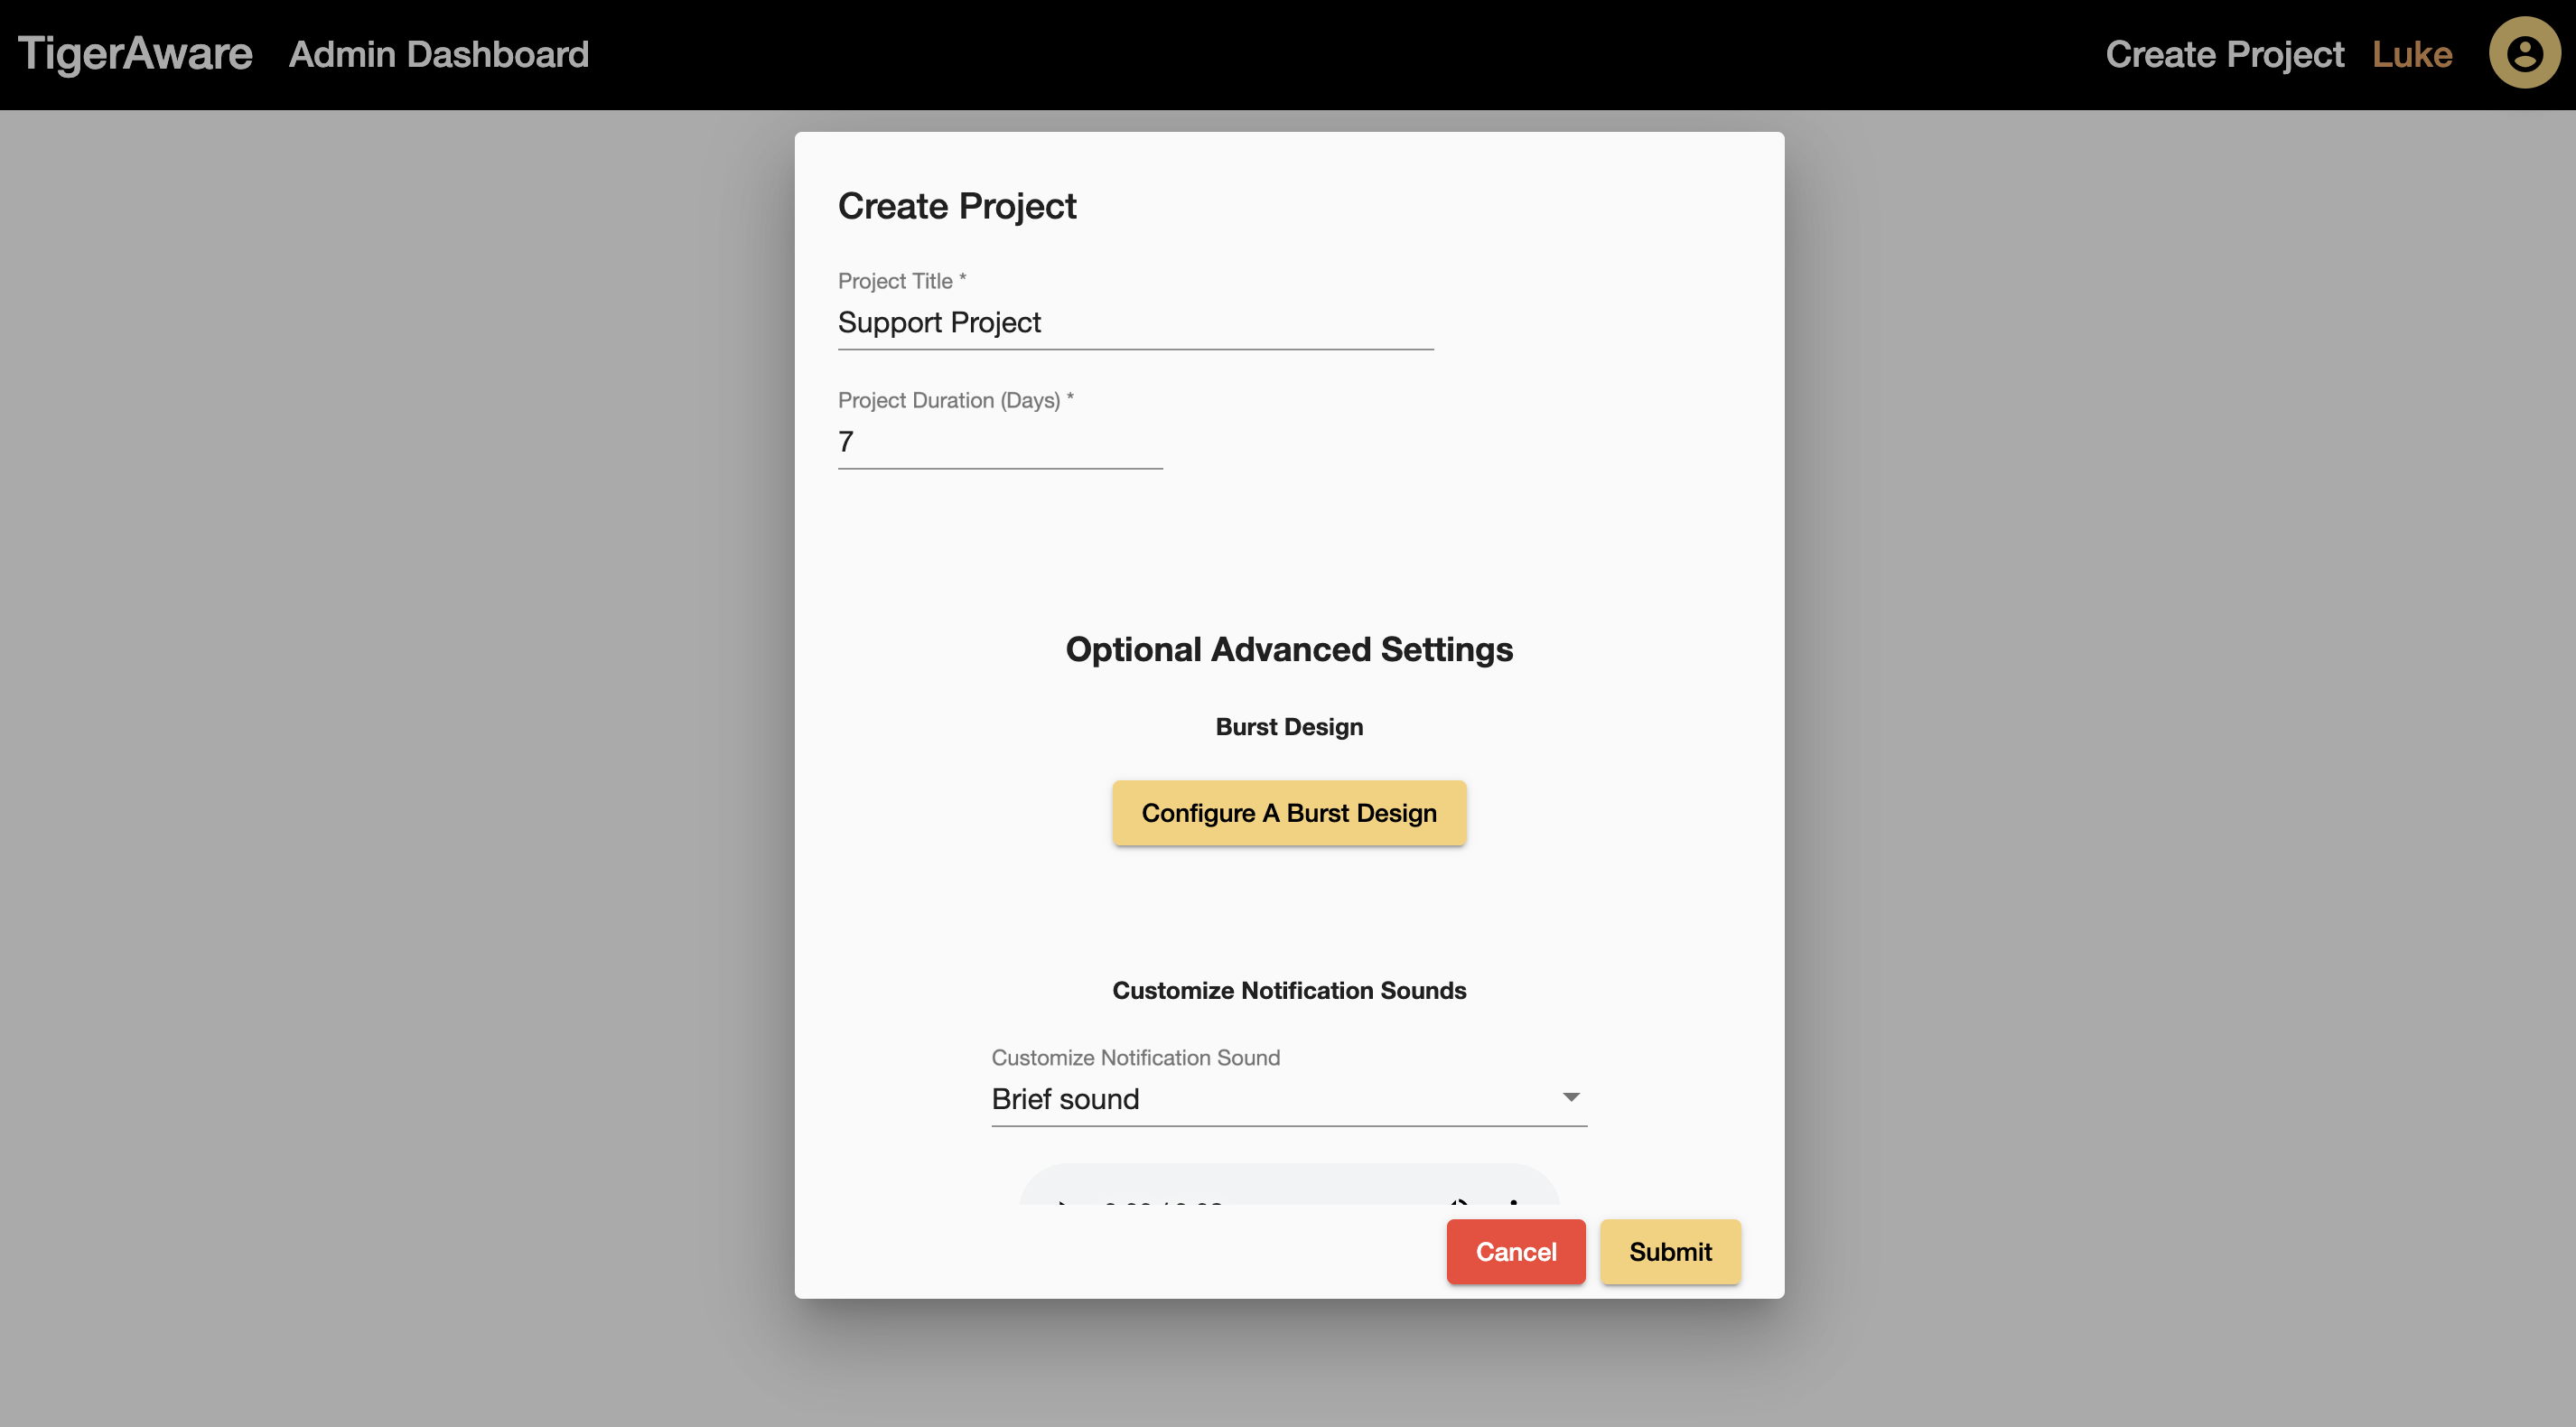
The required project title will be used to display the project on your projects page, while the project duration will control how long your users participate in the study. By default, users will receive notification prompts for the number of days you enable as the project duration. You can also enable advanced project-level settings such as a burst design and custom notification sounds.
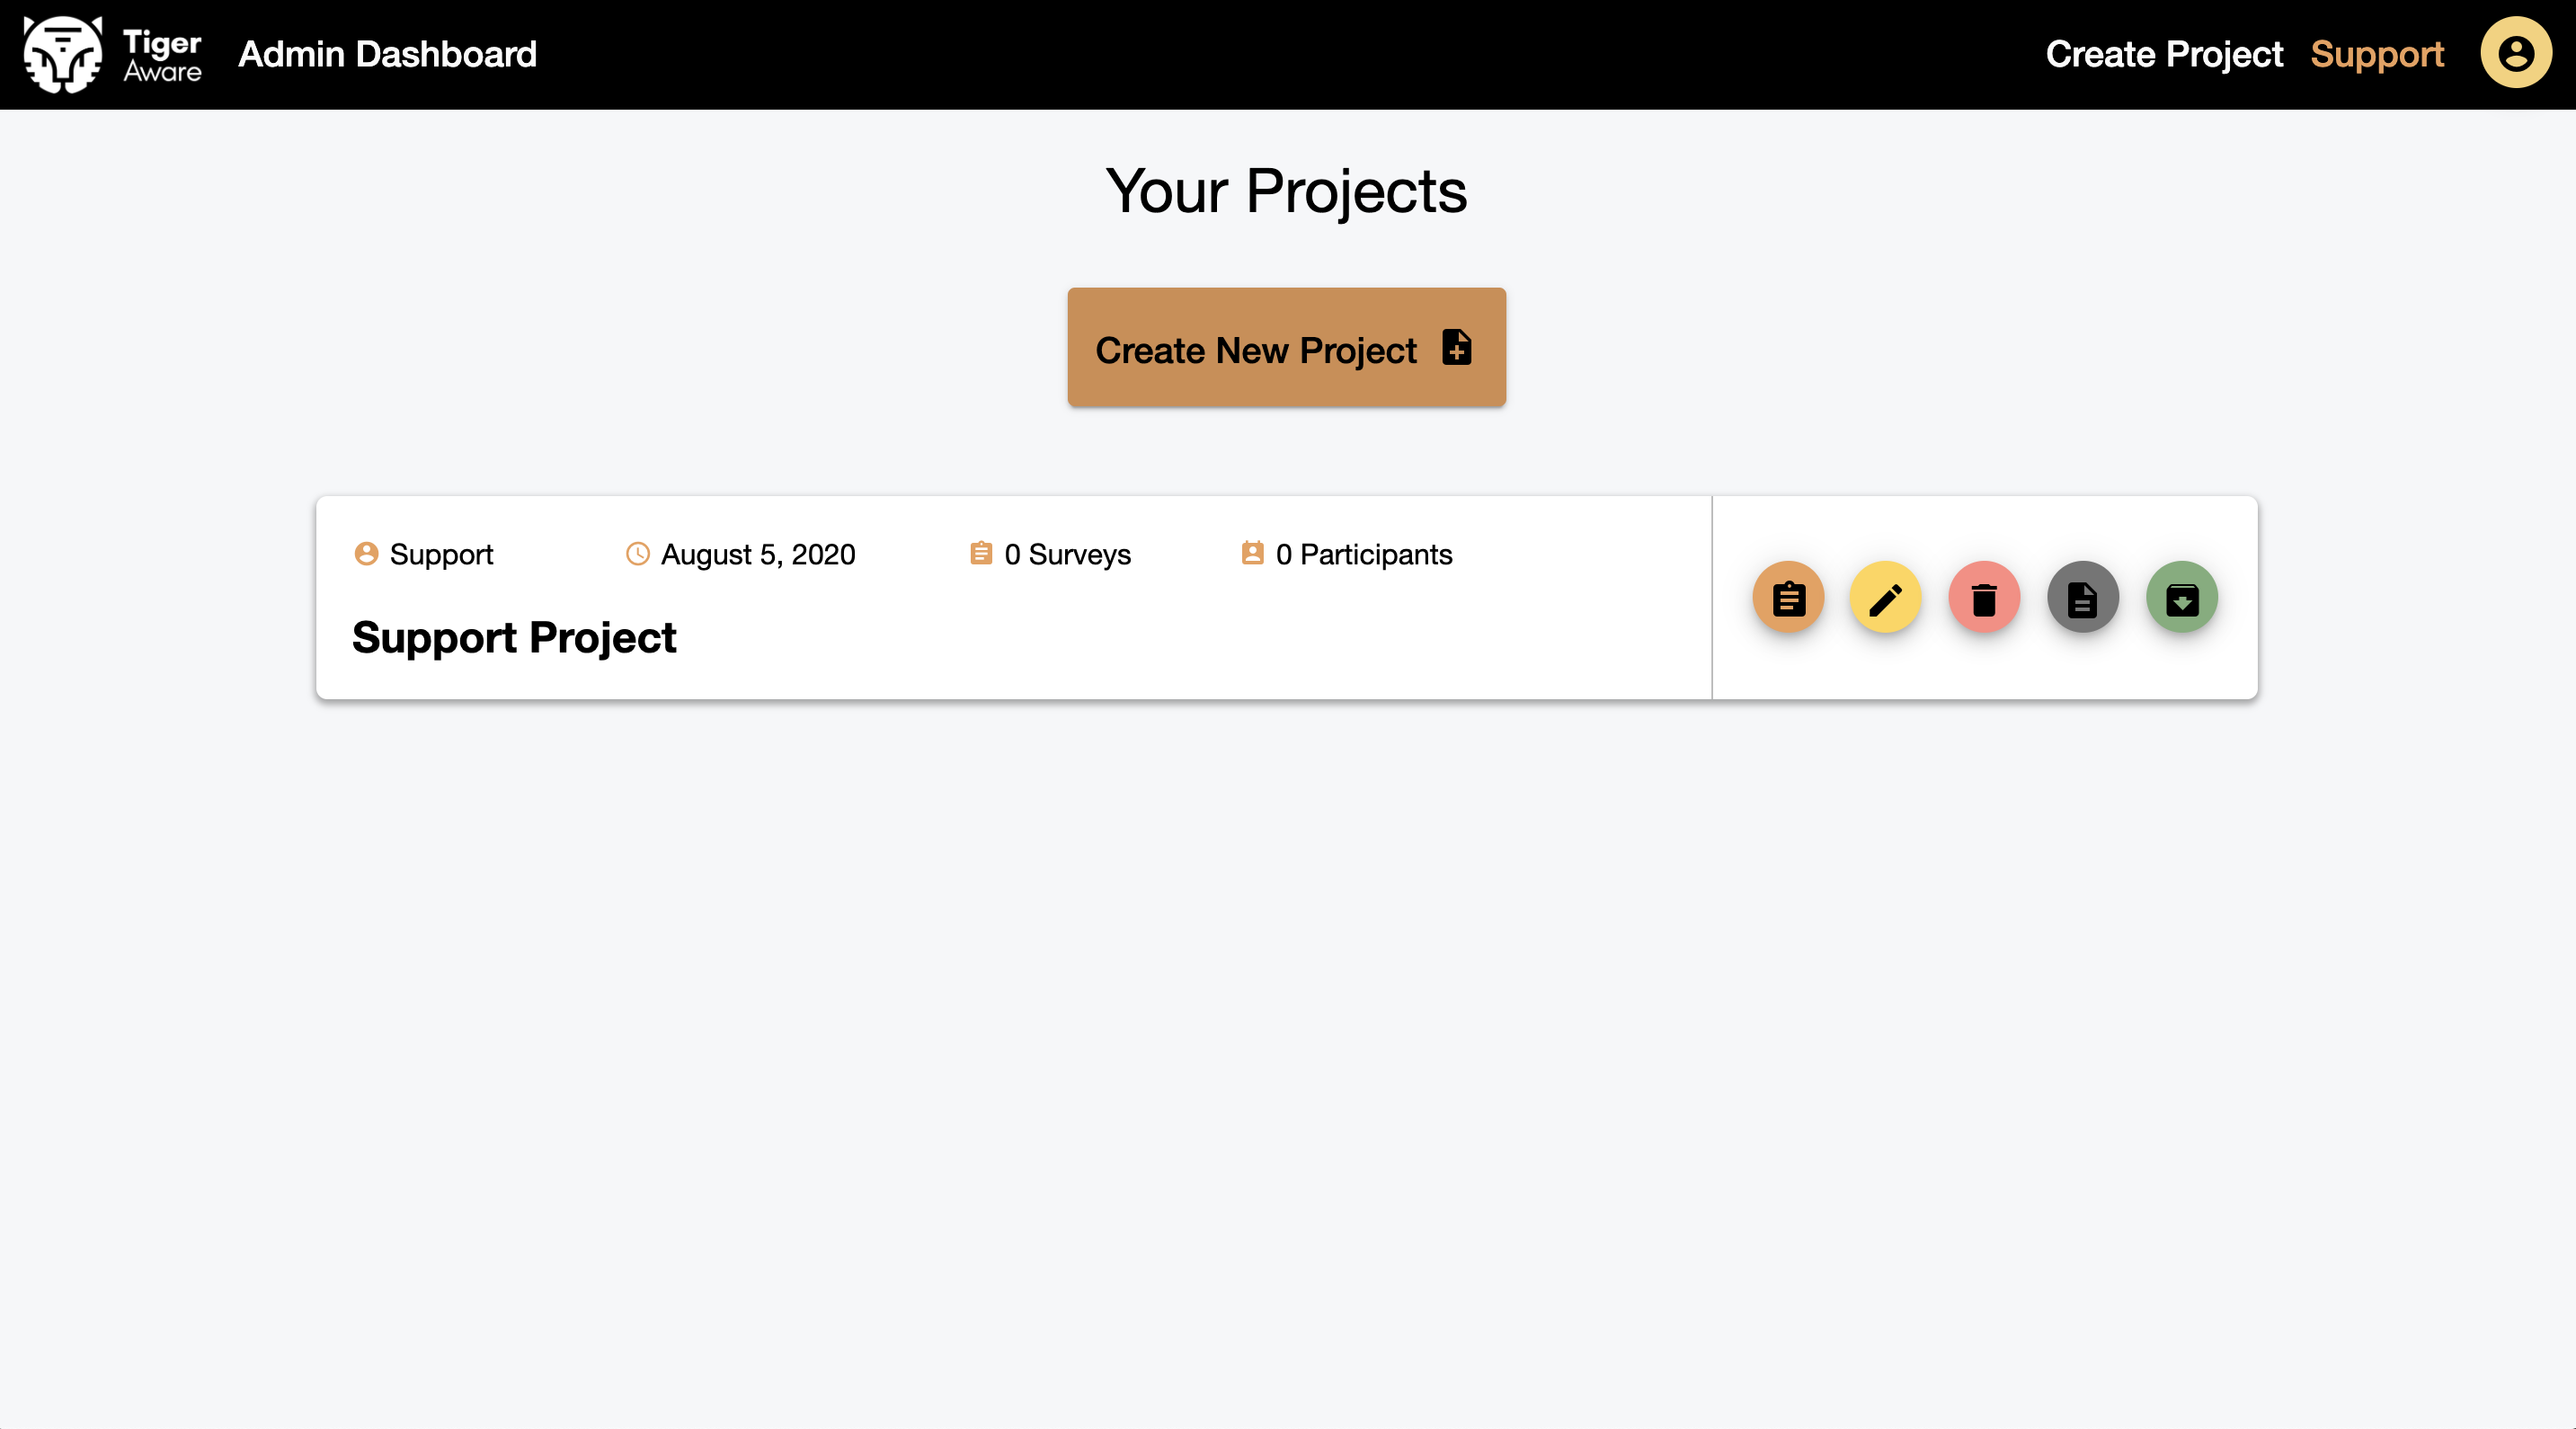
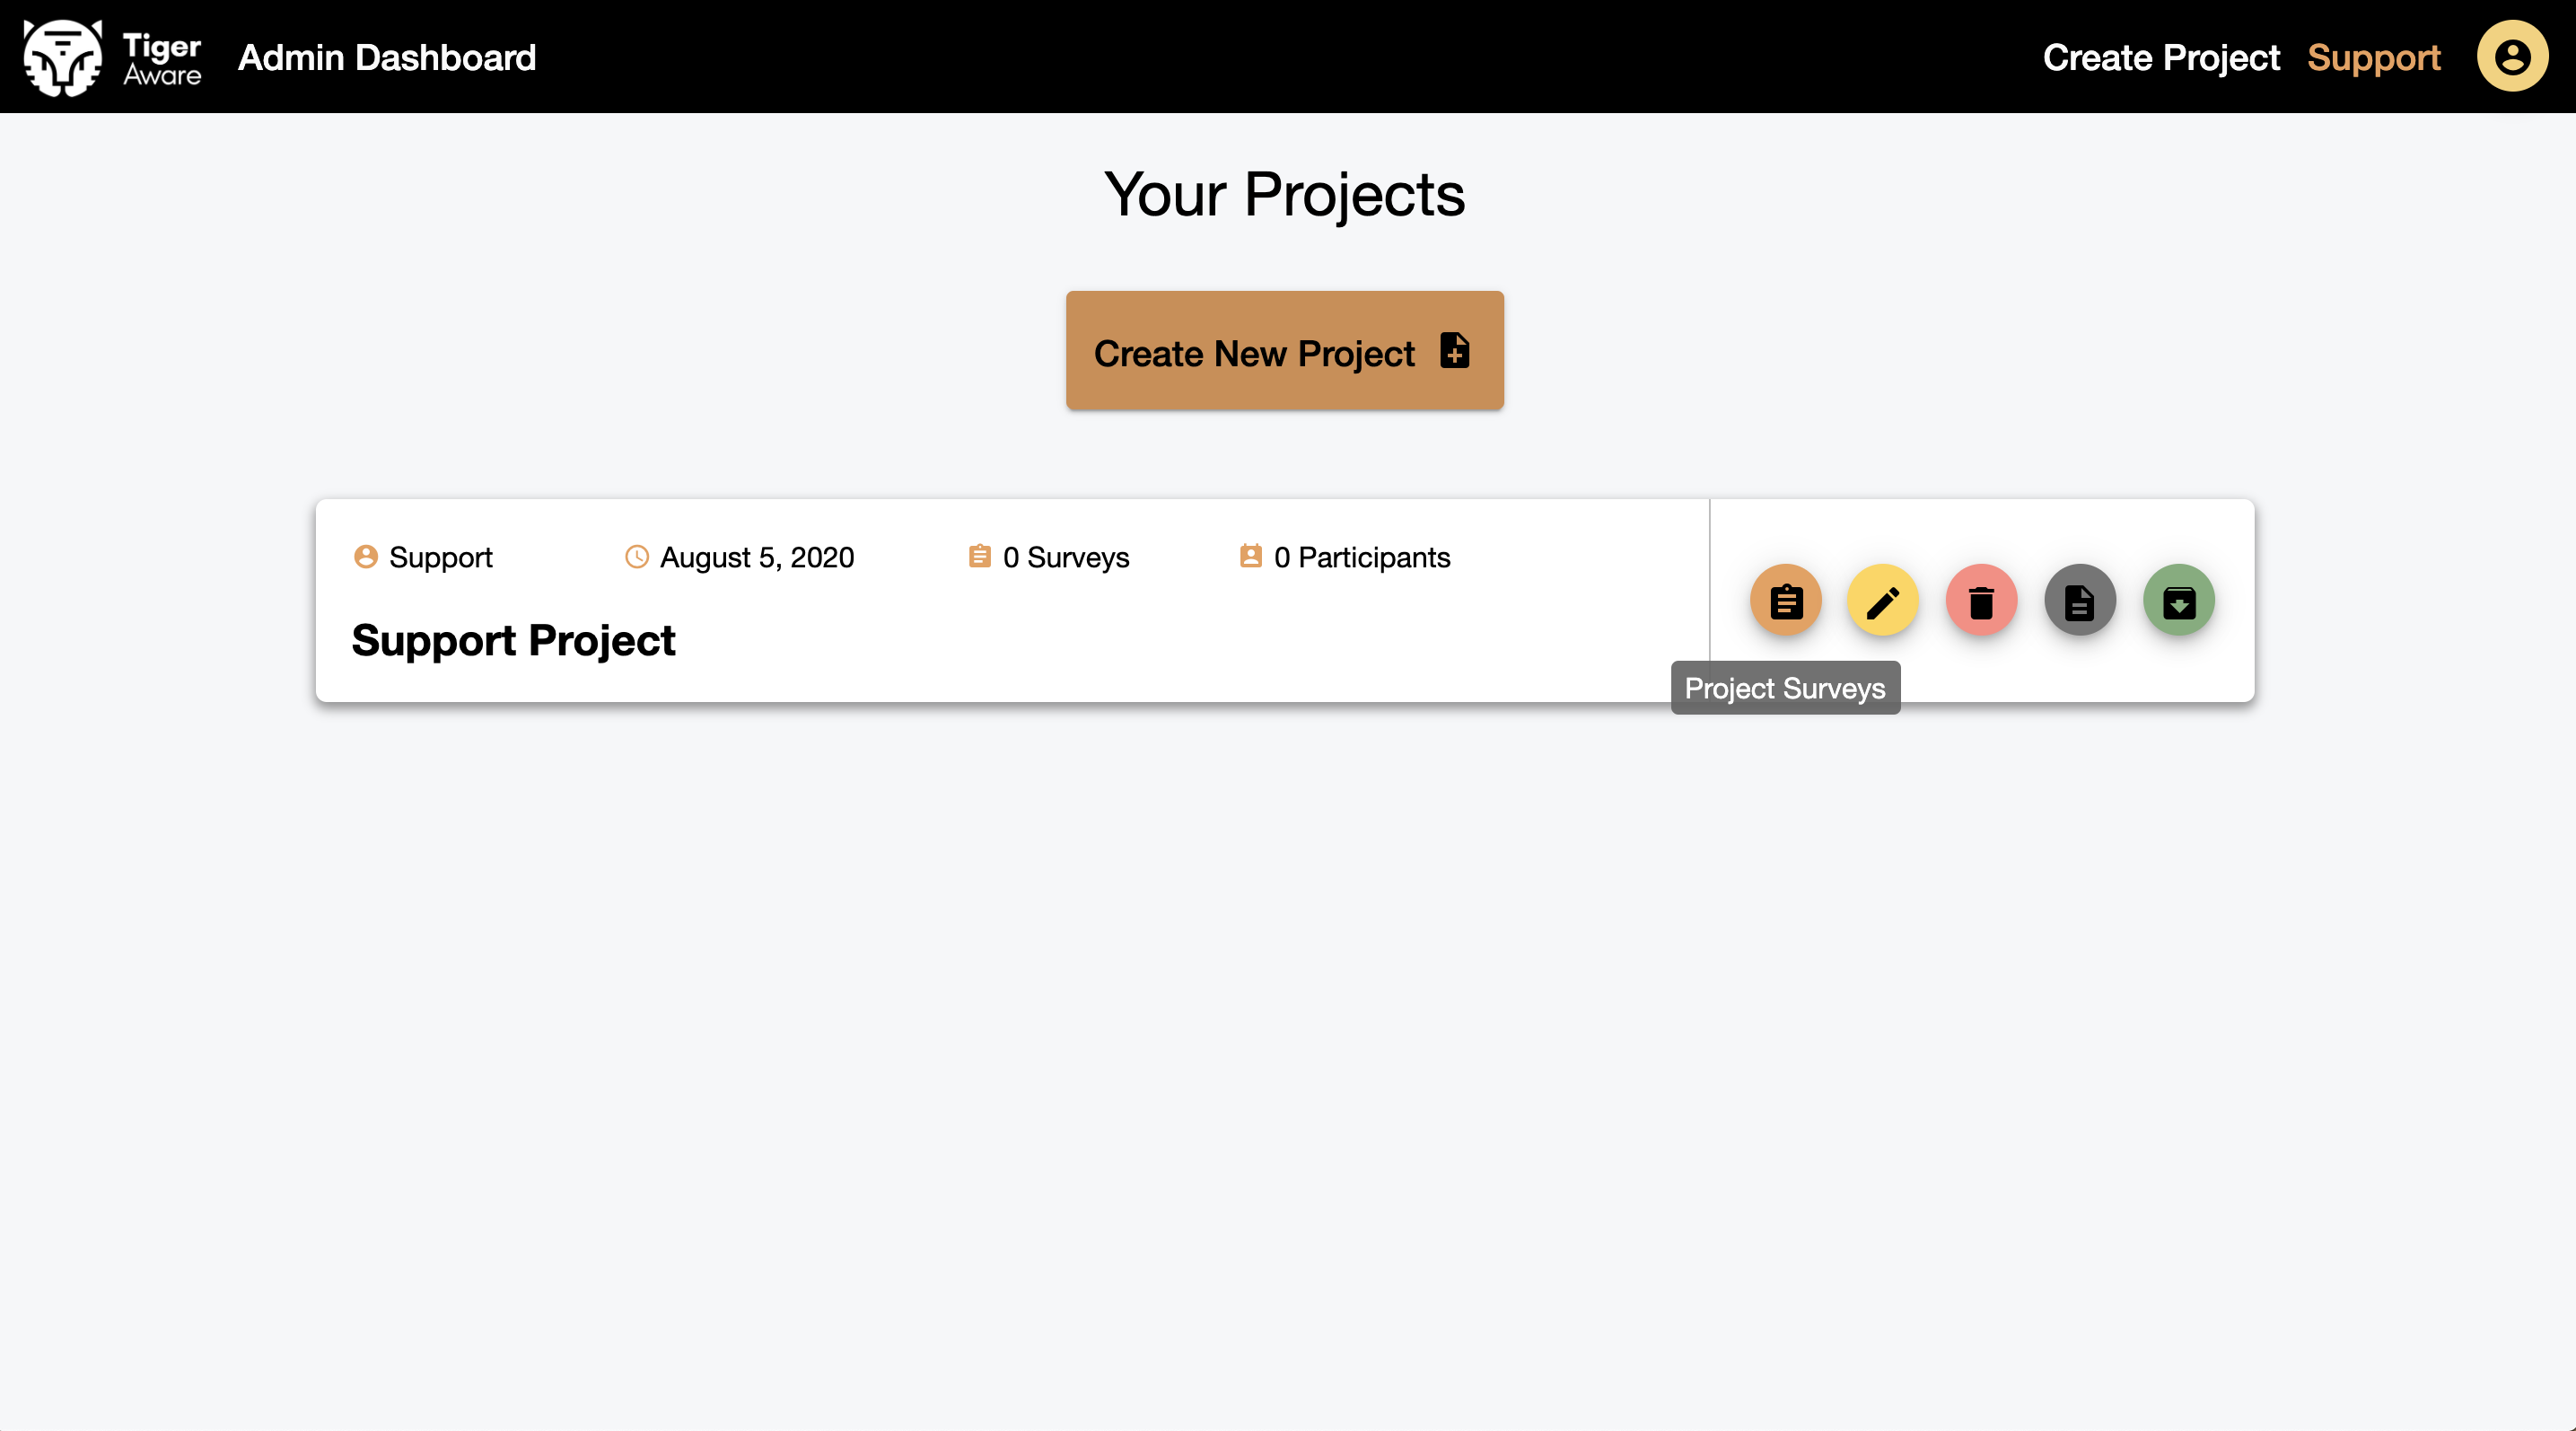
After creating your project, you can now edit surveys and project settings, manage participants, copy the project, and export results through the project list entry.
Now that the project is configured, you are ready to add new surveys for users to complete.
Adding surveys to the project
To create a new survey, click the orange "Project Surveys" button corresponding to the project you just created.
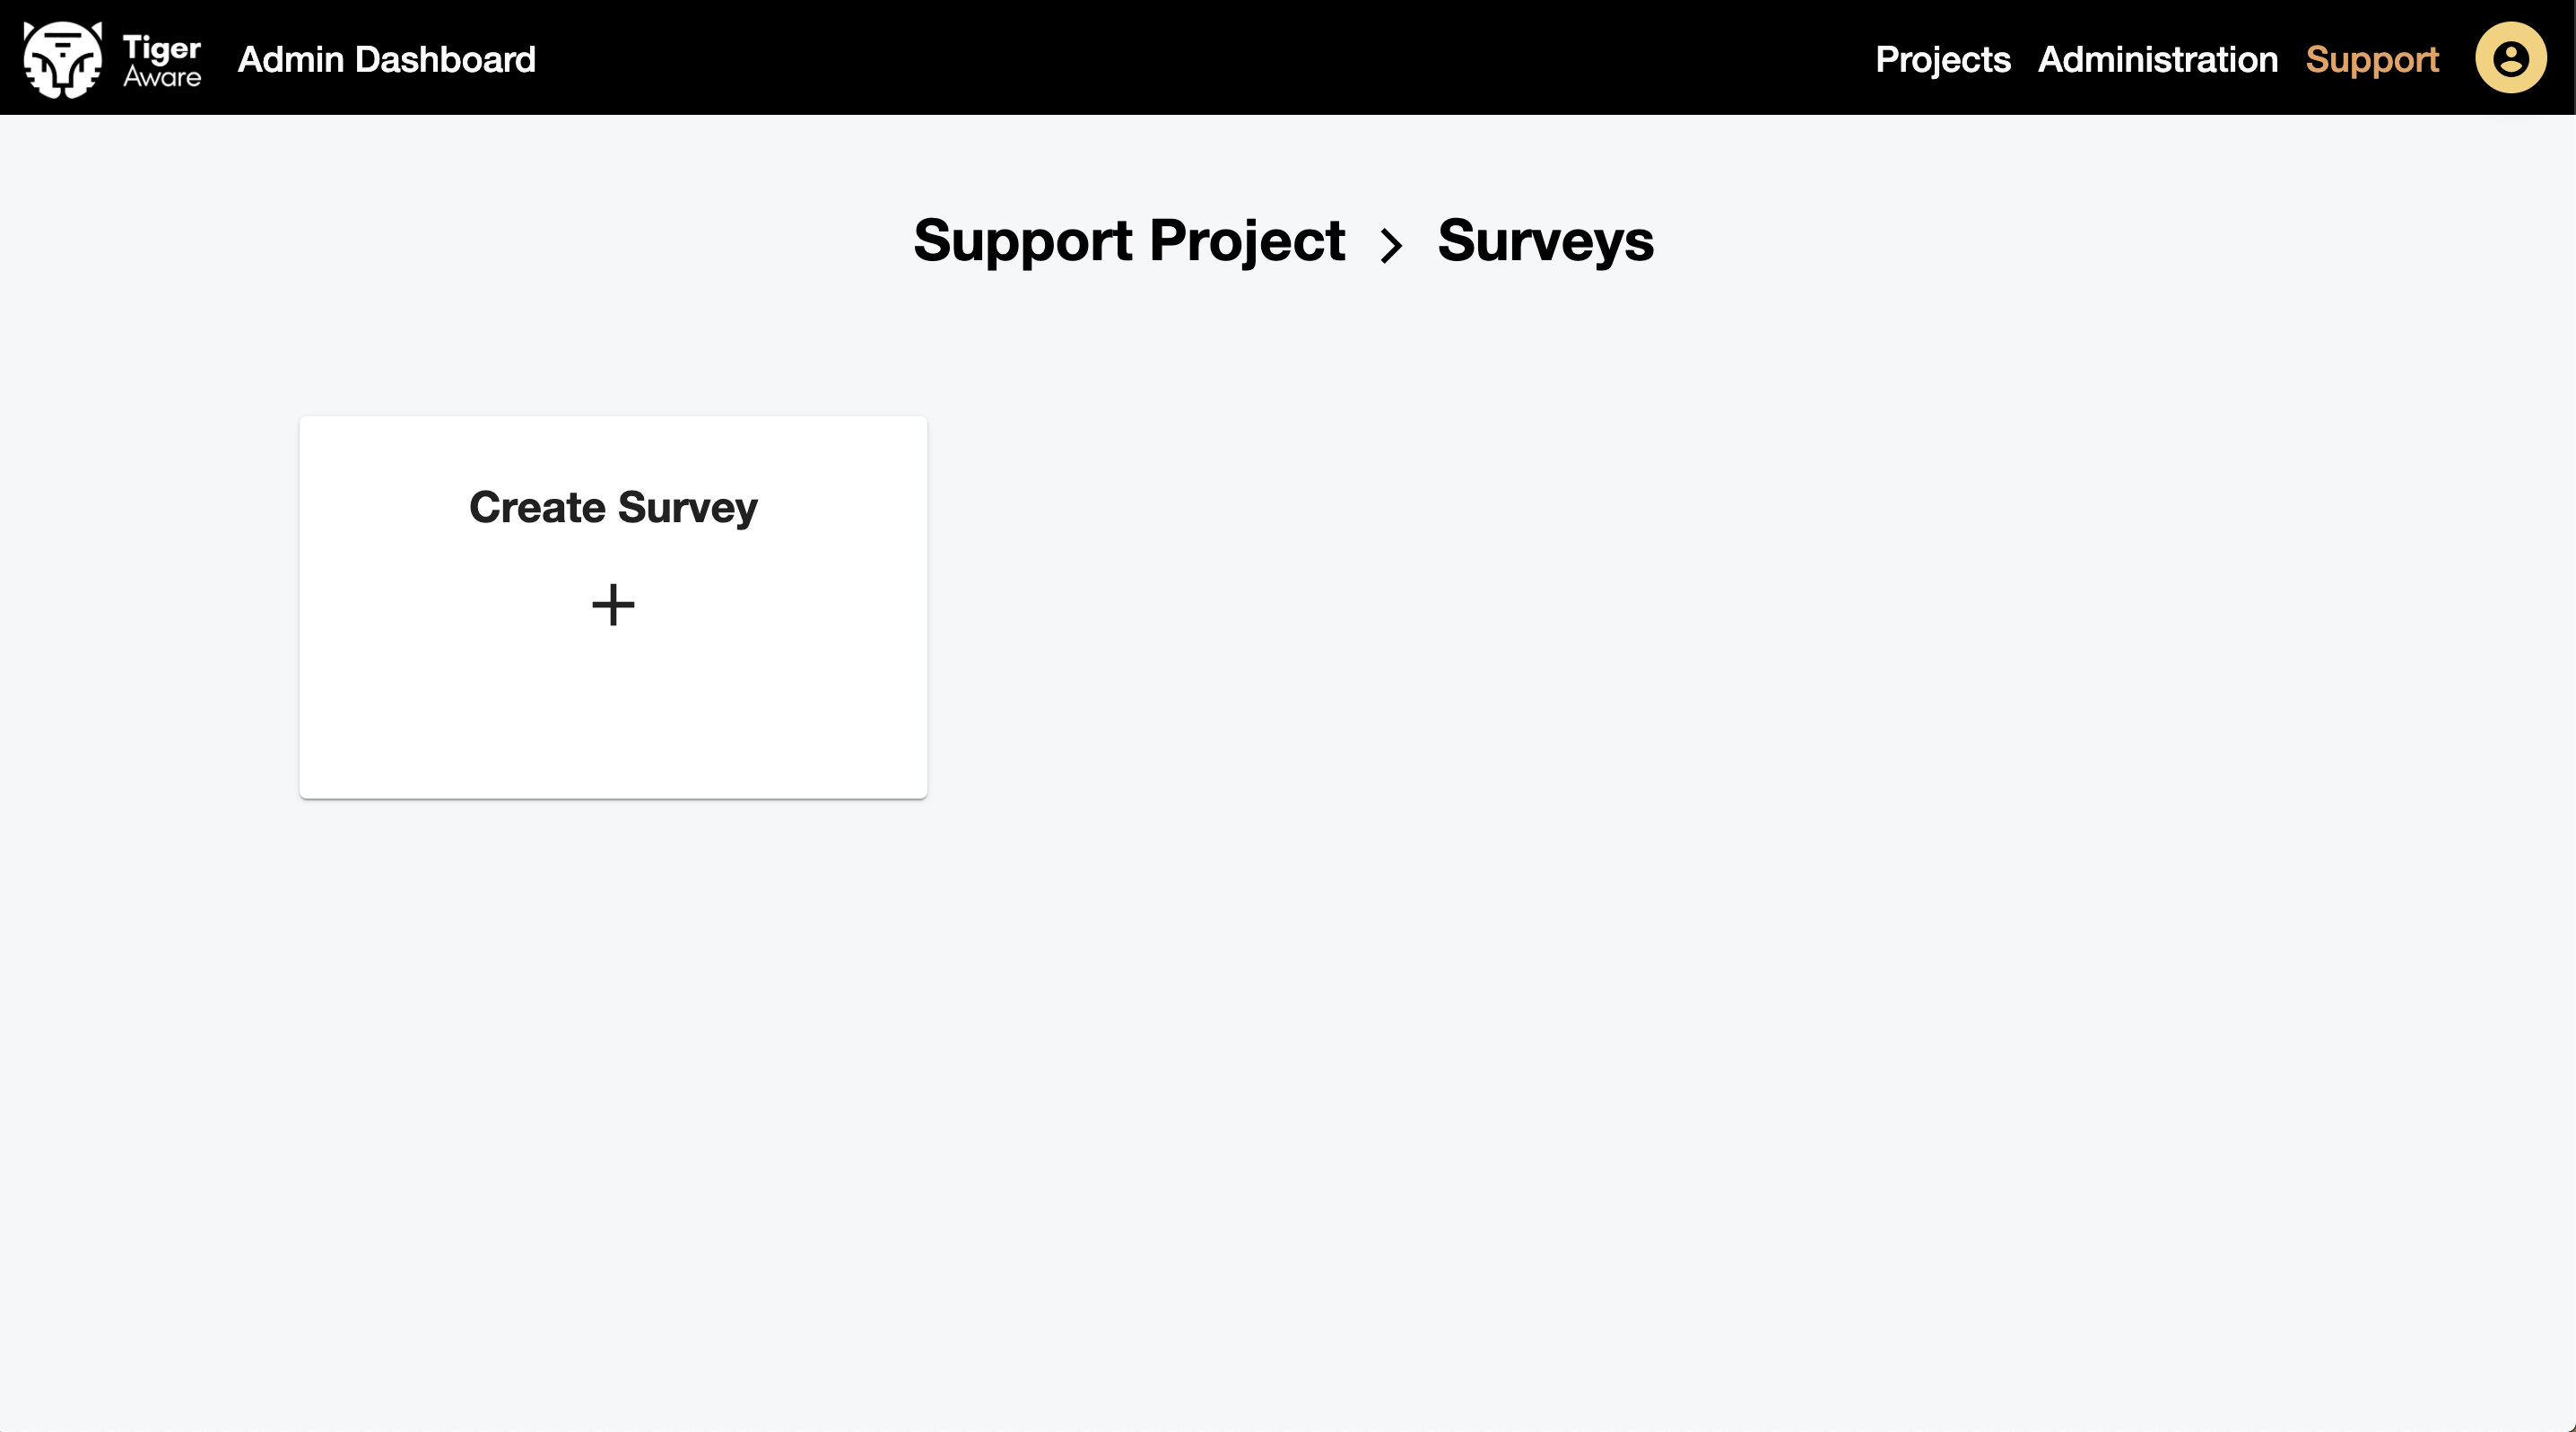
This will direct you to the surveys page, where you will see a list of the surveys that are part of this project. To create your first survey, click "Create Survey".
Next, you can navigate to the survey builder, where you create questions, configure scheduled and random notifications, restrict when the participant can complete the survey, and schedule follow-ups.
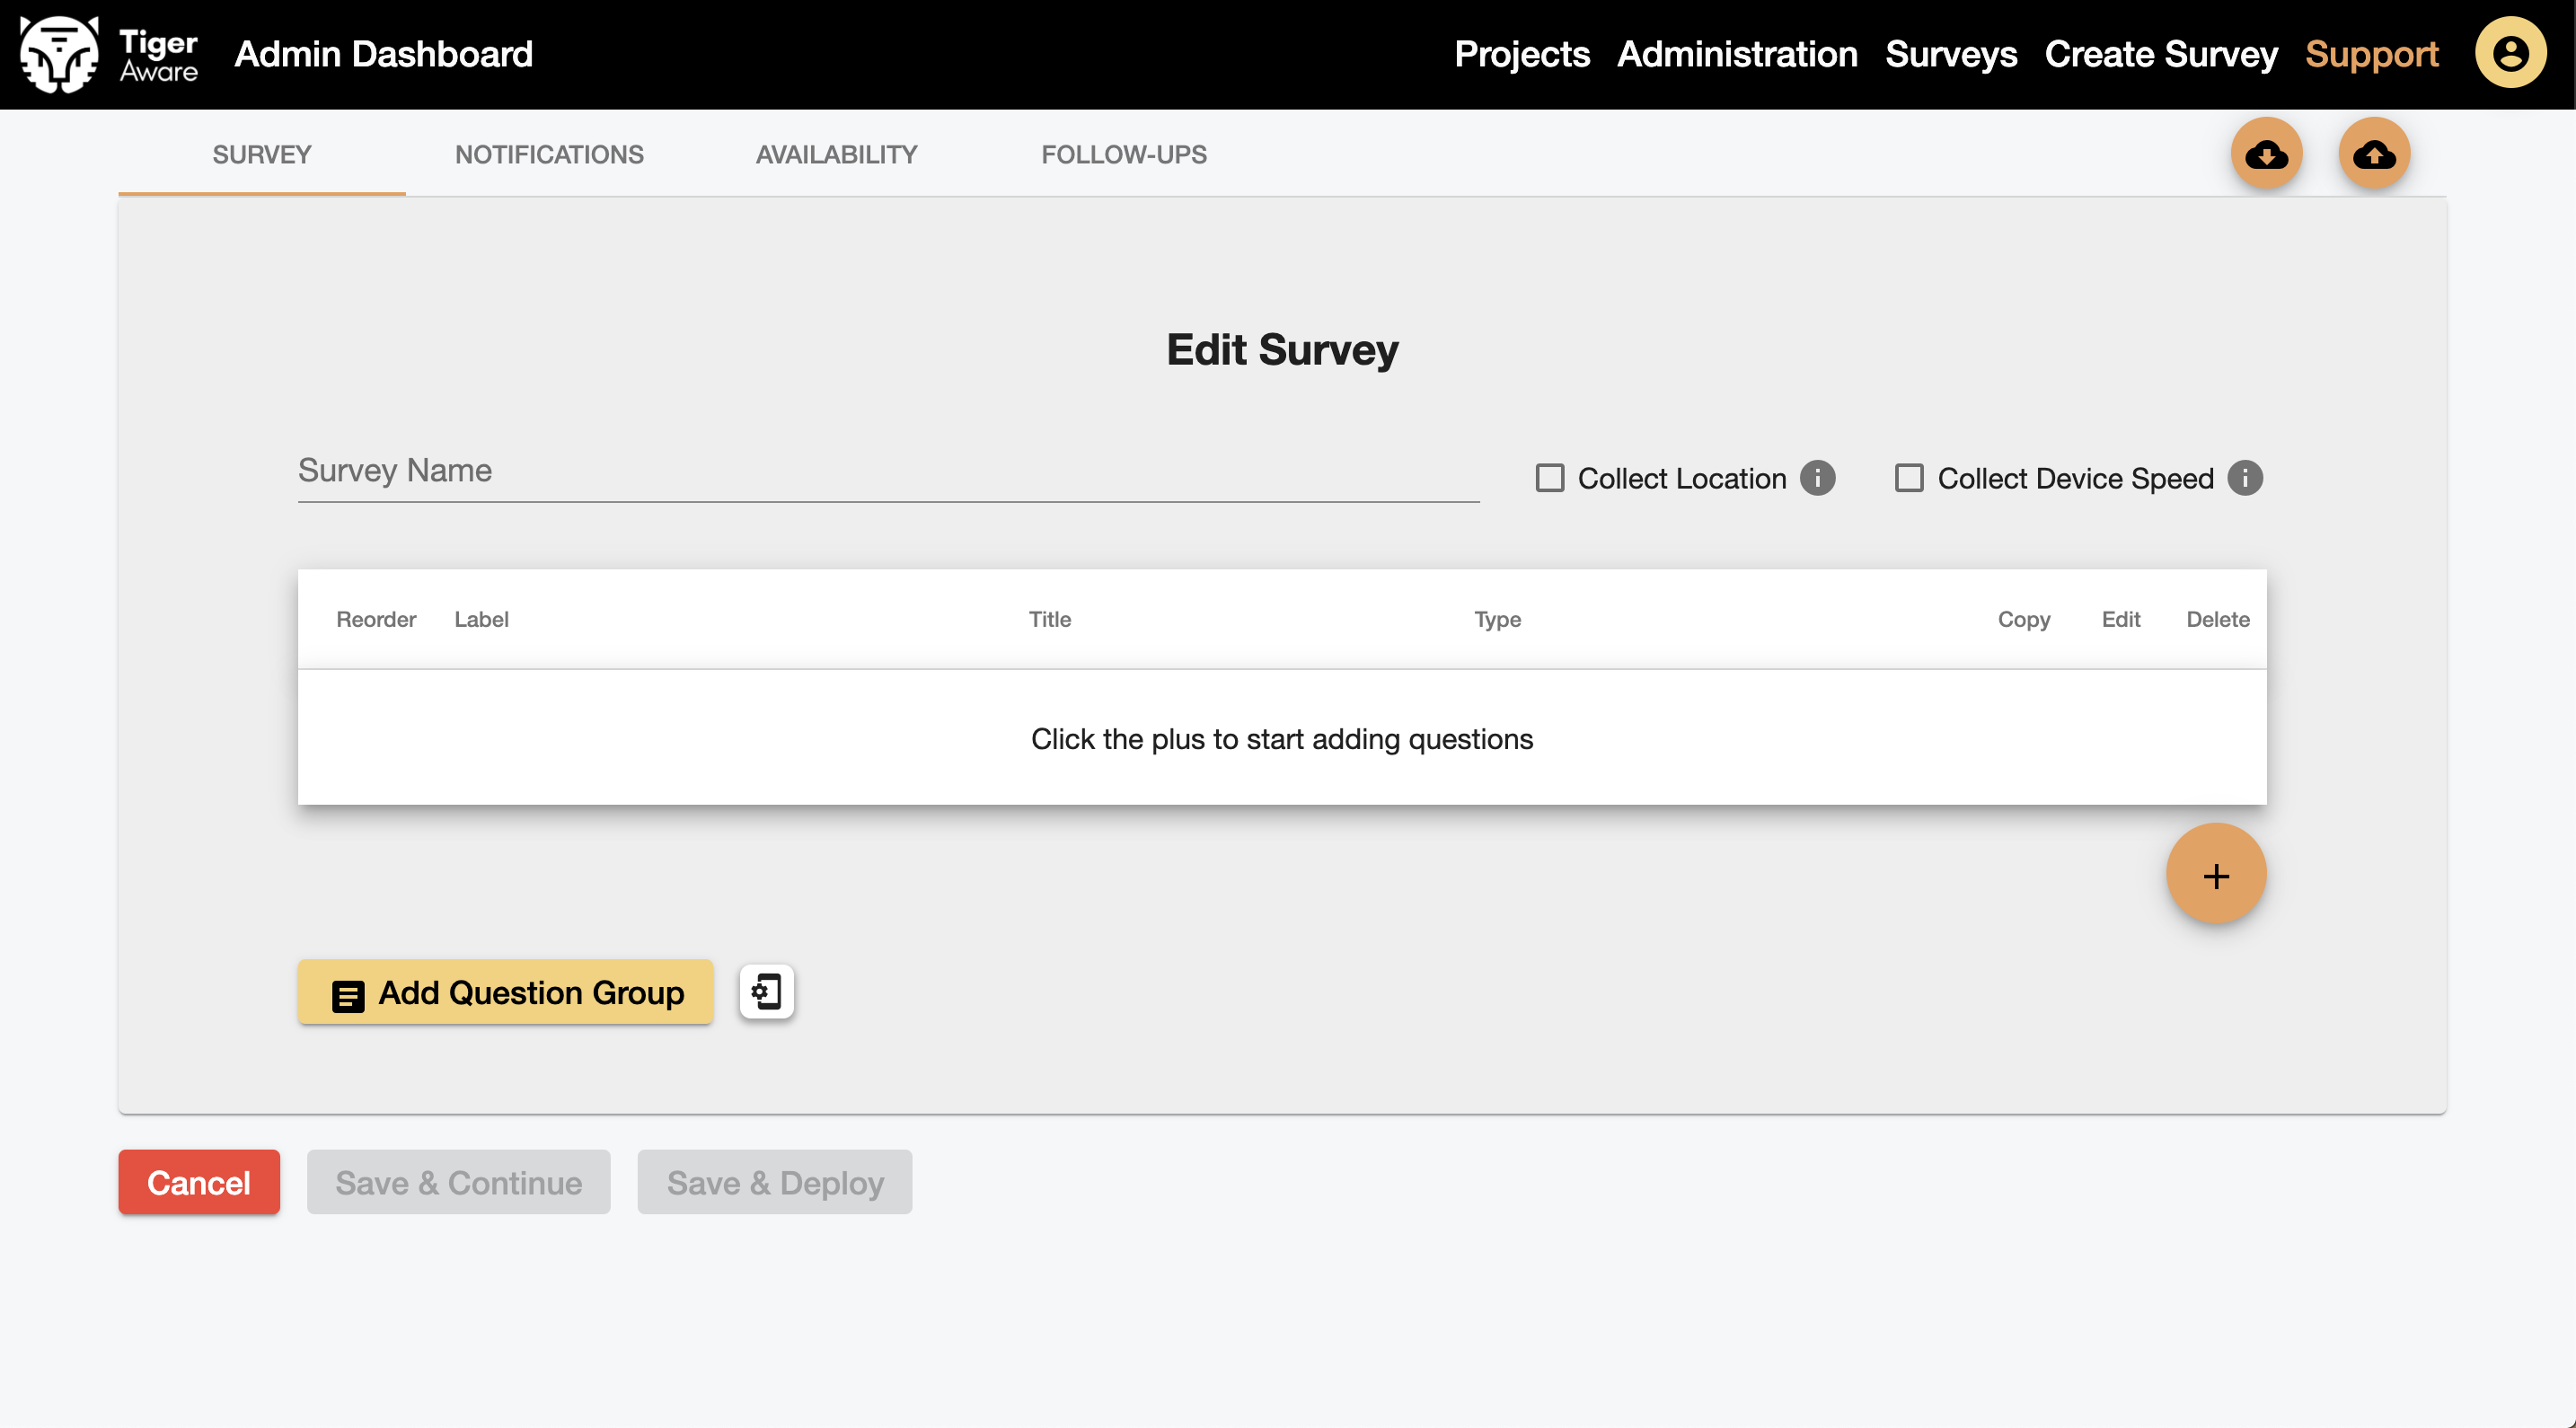
After you finish configuring your survey, click "Save and Deploy" to add it to your project and return to the surveys page.
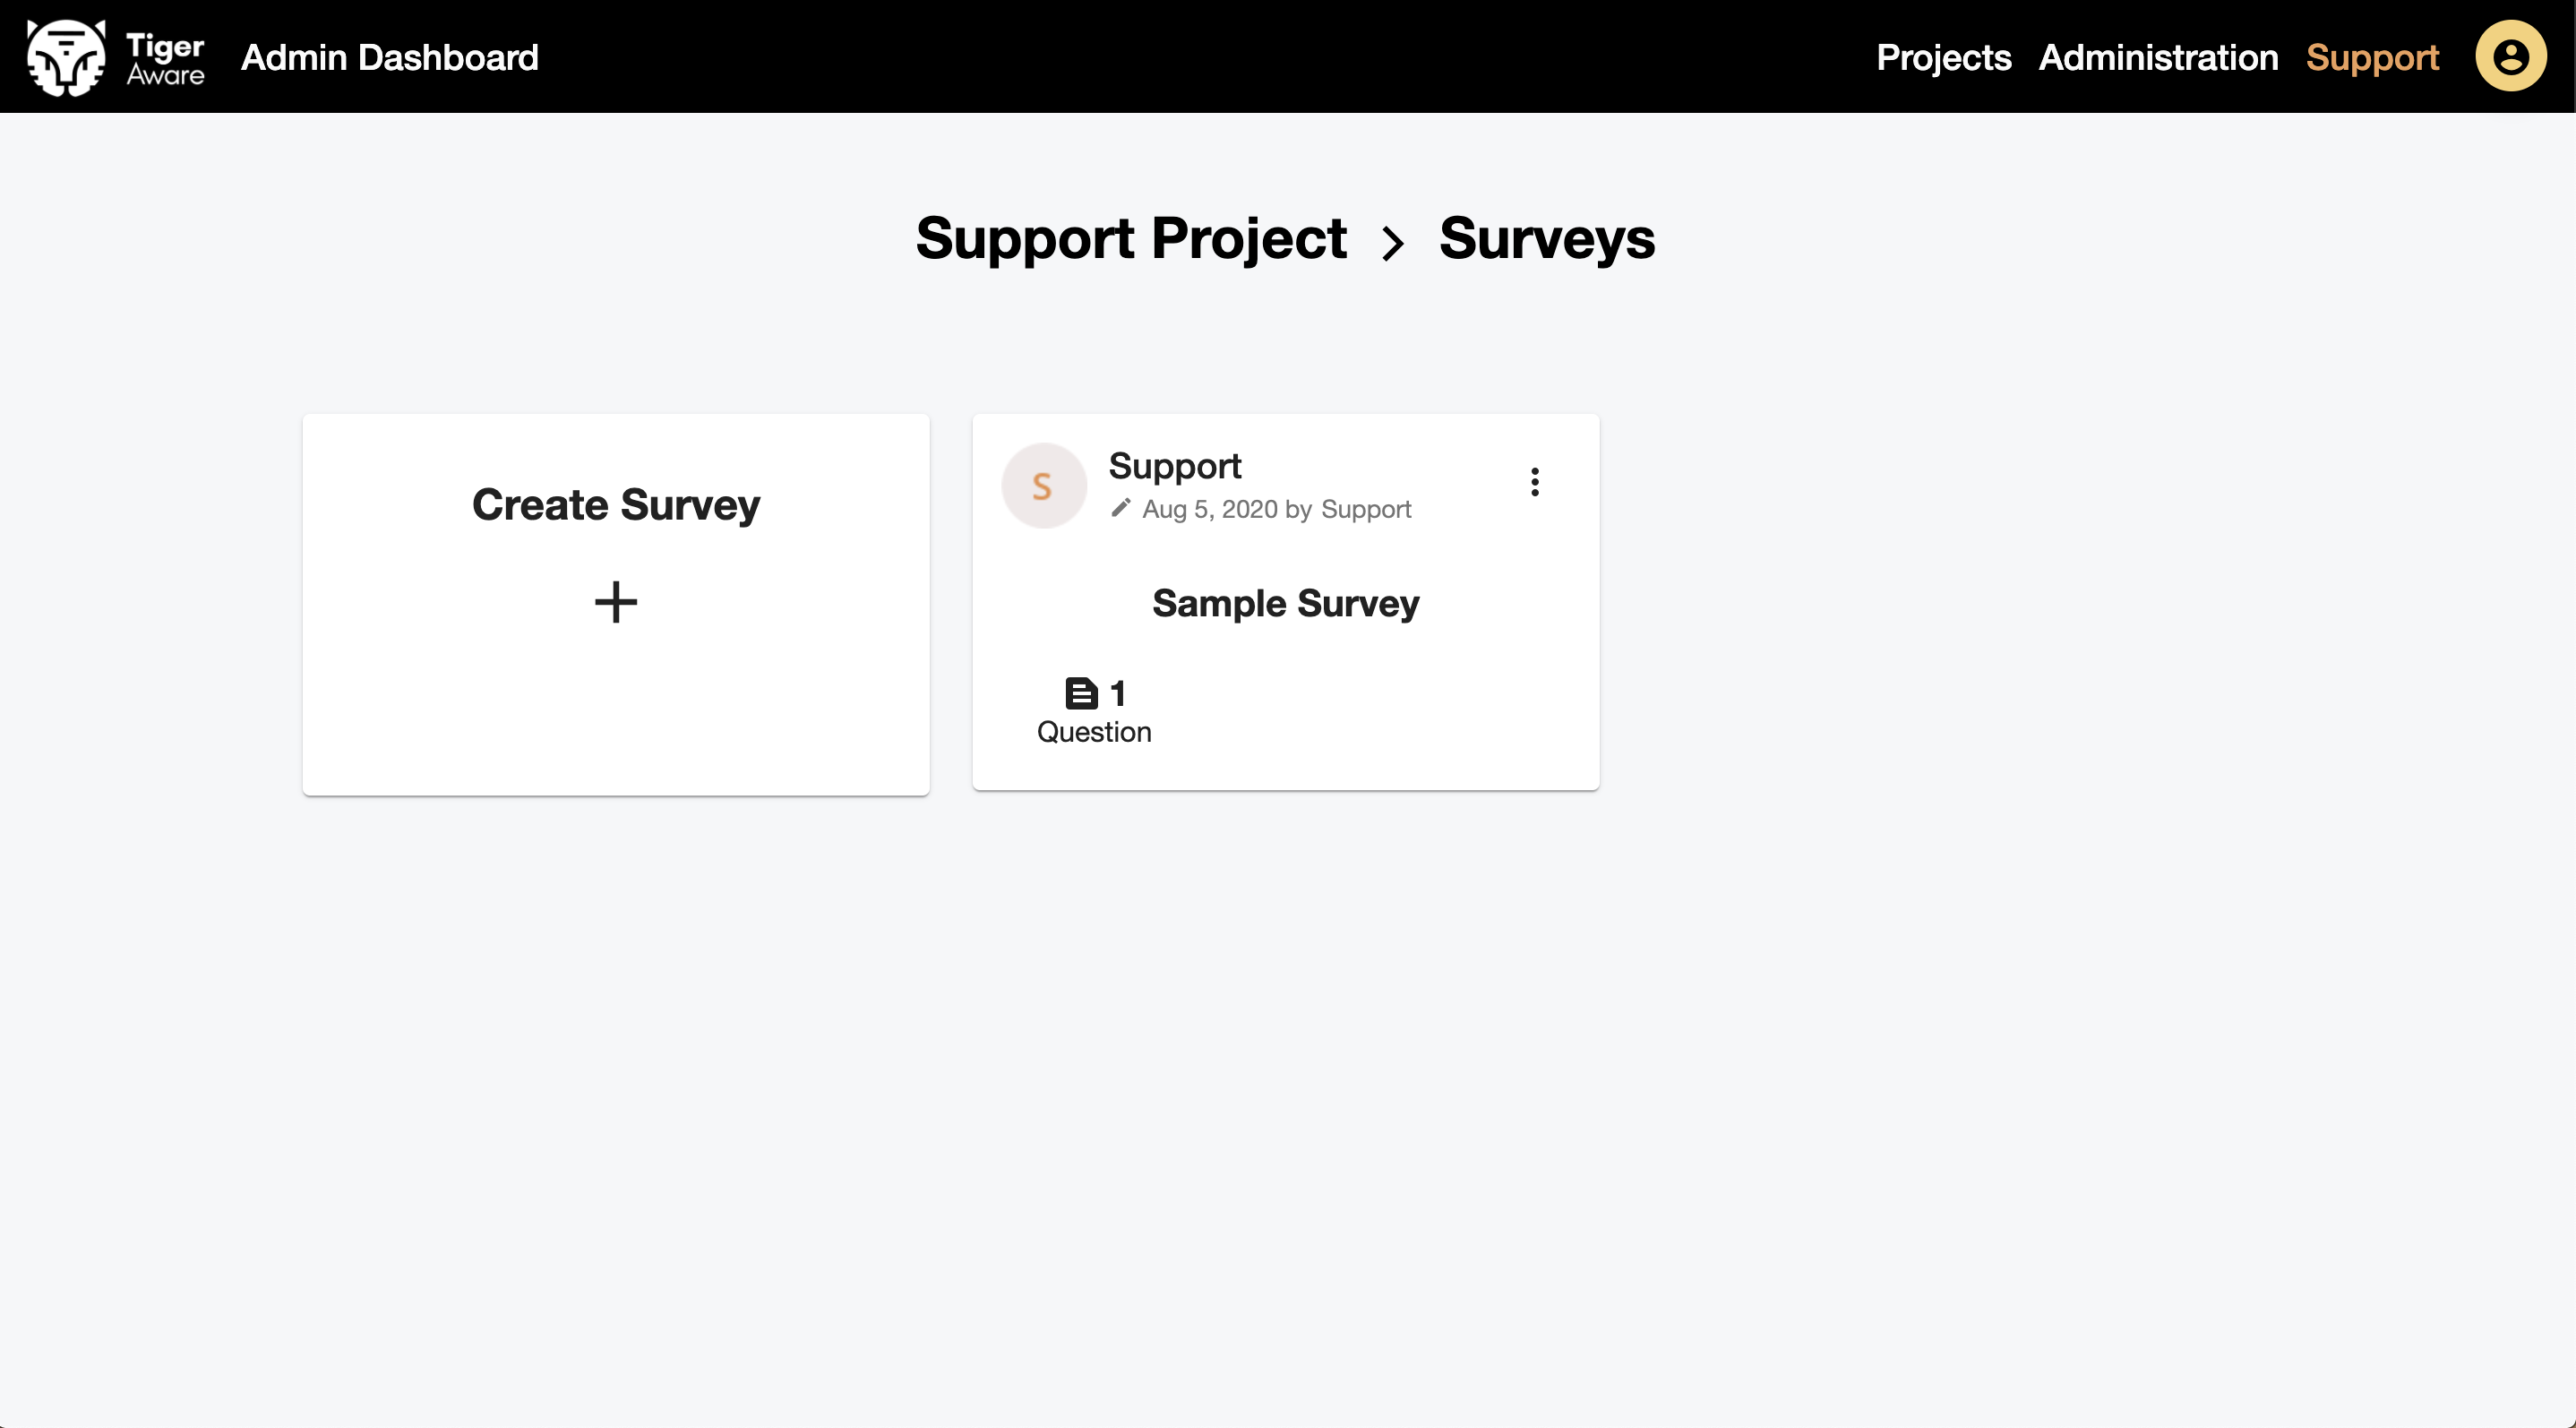
Once you have configured the surveys for your project, click "Administration" at the top of the page to begin adding participants.
Adding people to the project
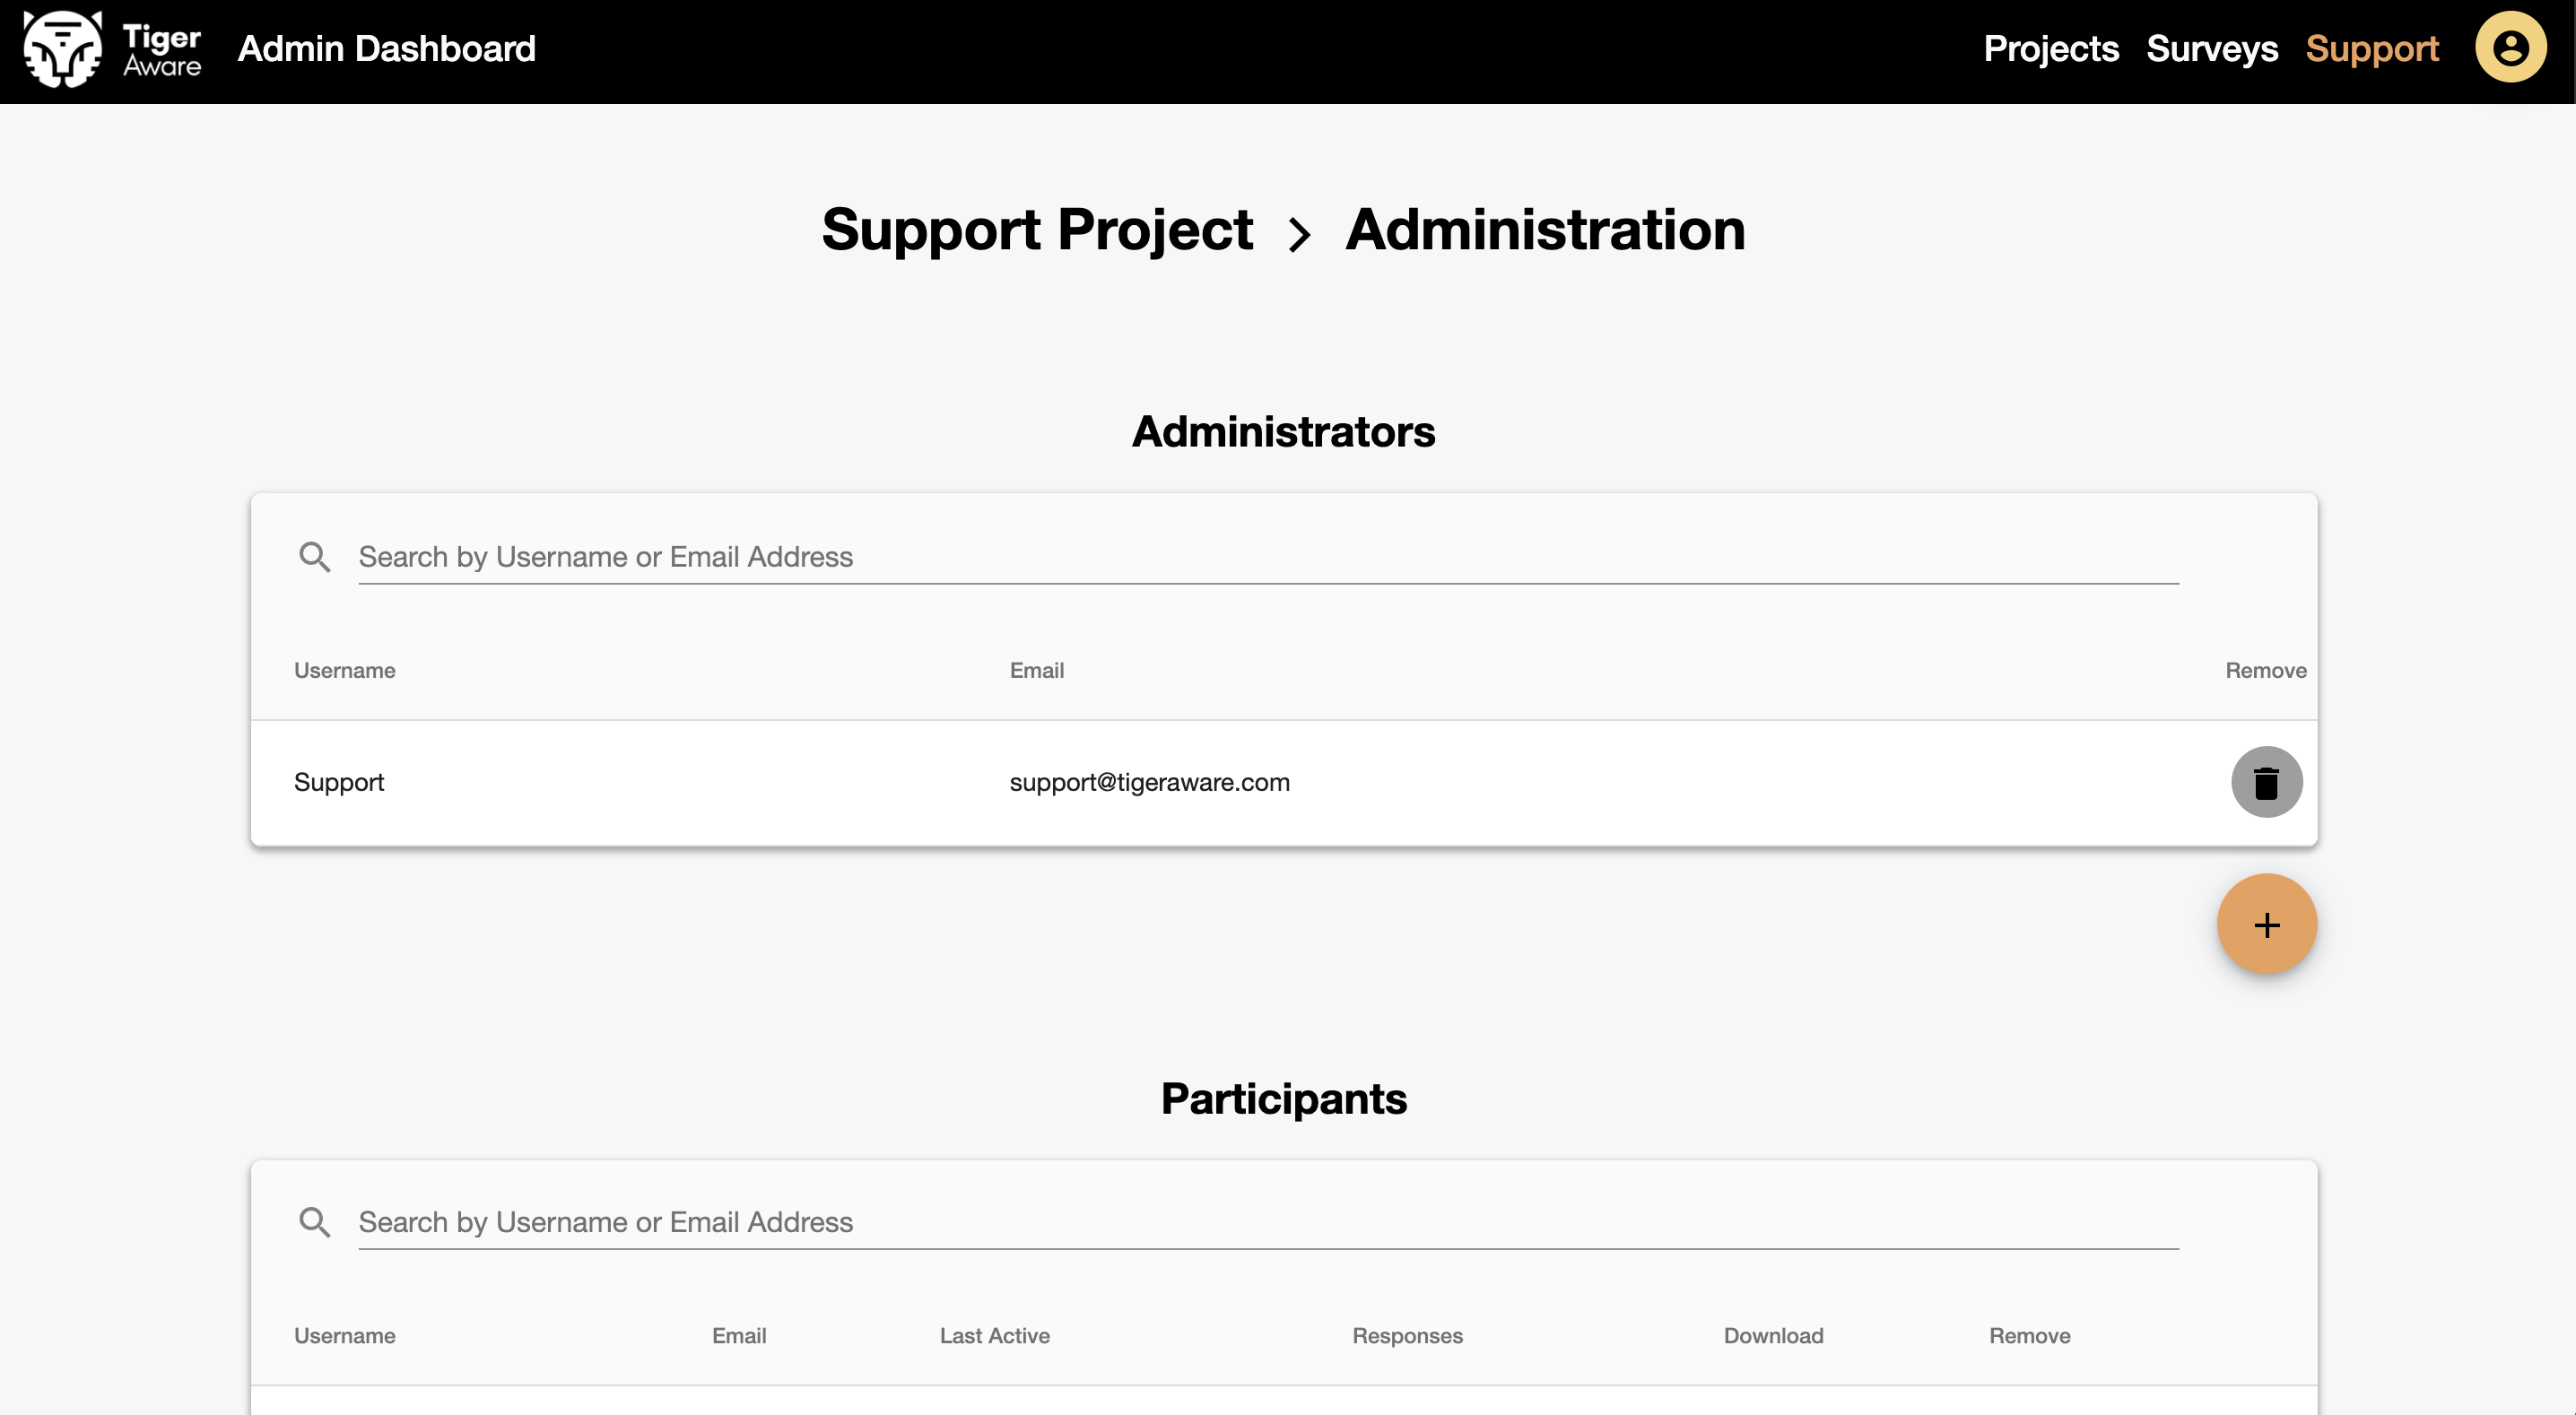
Administrators
Once on the administration page, you can share the project with other administrator accounts by entering their account email under the administrator section. This will enable them to view and export survey results, as well as configure new surveys. We do not place a limit on the number of administrators on your project – add anyone in your lab who needs access.
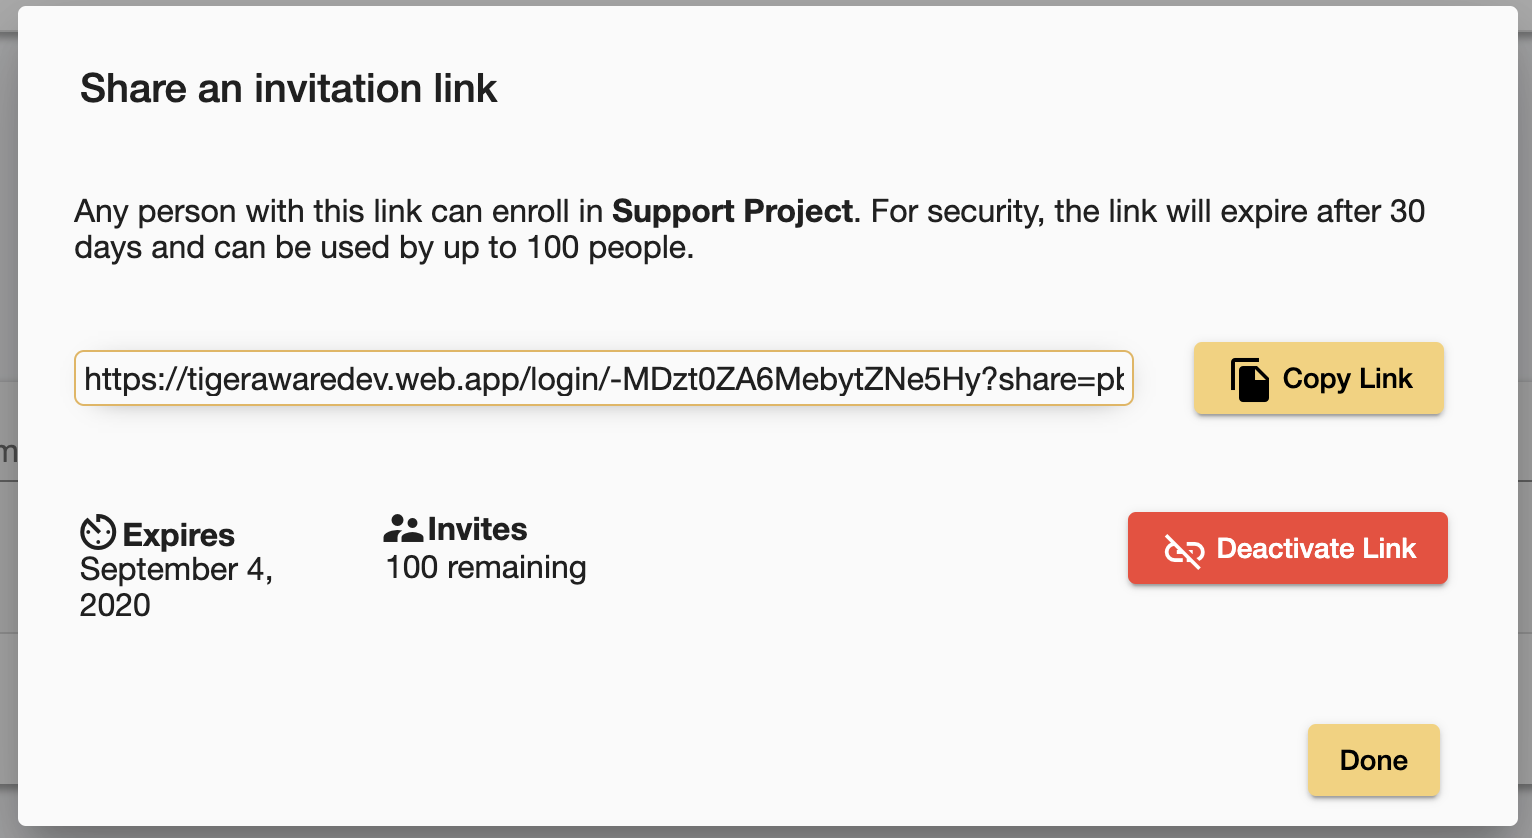
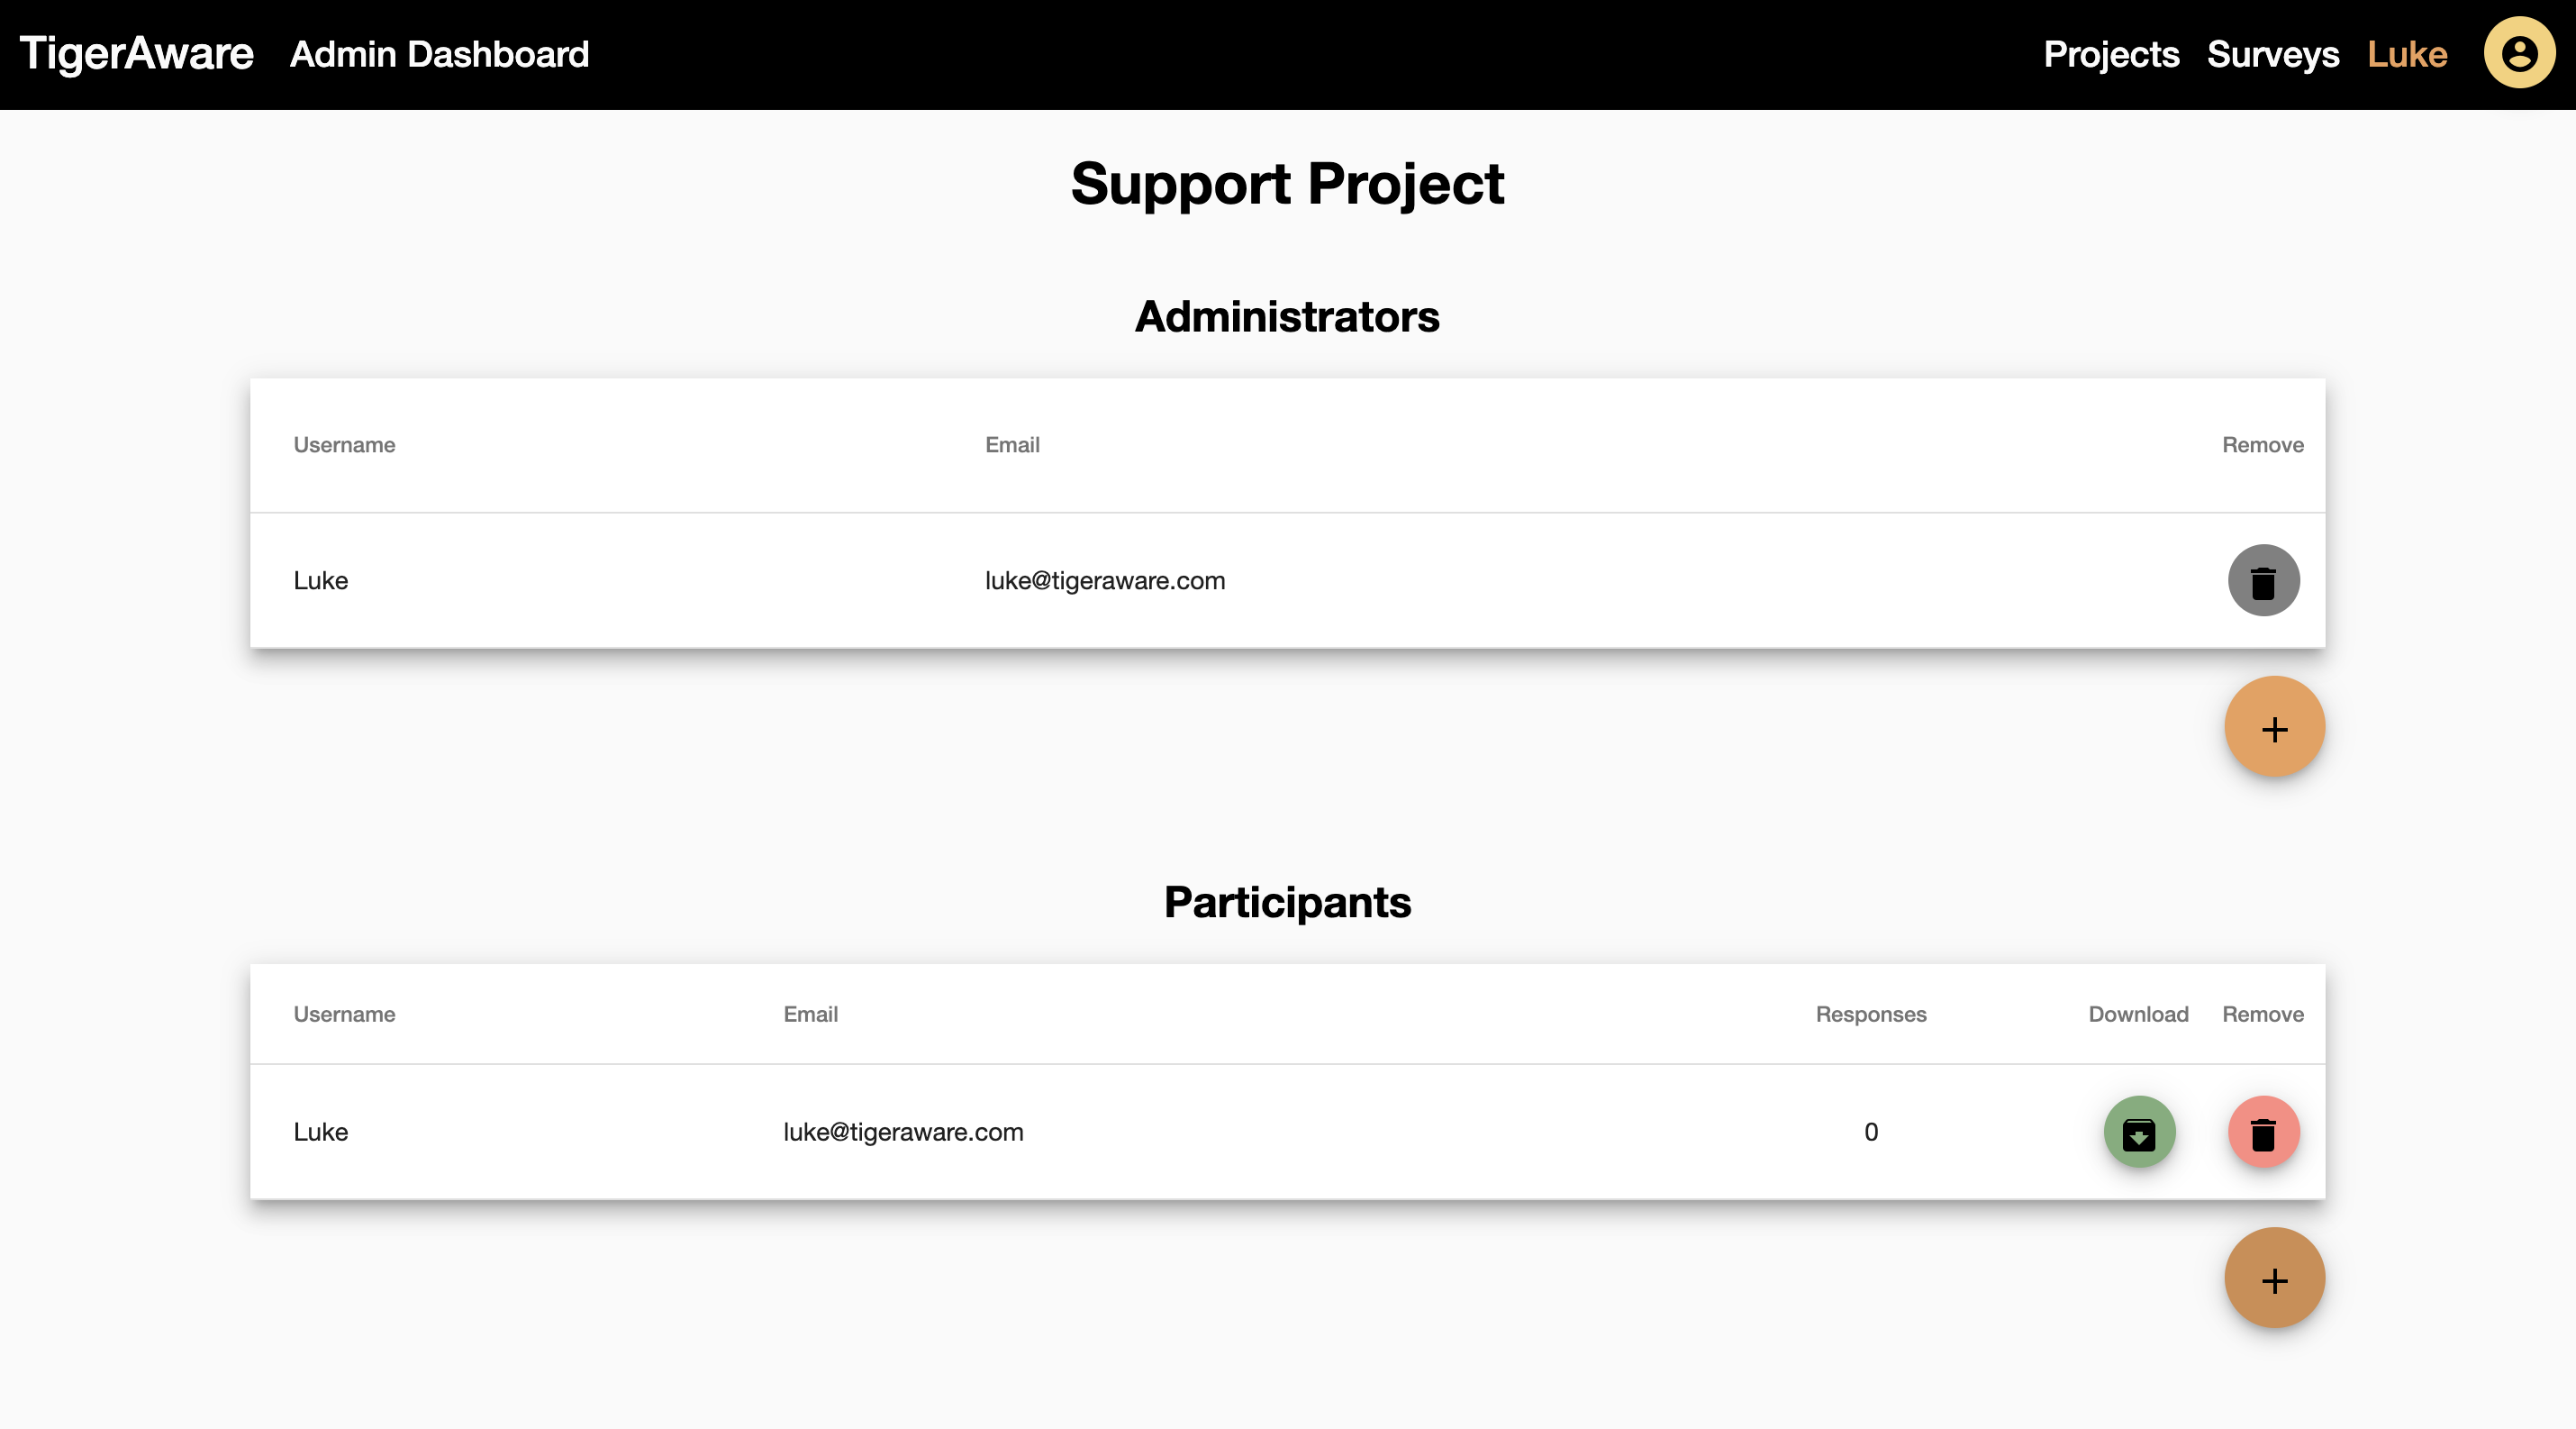
Participants
To add participants to the project, (1) manually create an account for their user and add them by their email, or (2) create a share link to have them register on their own. Share links need to be refreshed every month or 100 users but can be used to add as many participants as you need. Share links will automatically add a participant to the project after they use it to create an account.
Participants will now be able to complete surveys for the project on the TigerAware mobile applications, but will not be able to view or modify the surveys on the website. As an administrator, you can also complete survey responses on the mobile application. You can learn more about different account types and their permissions here.
Note: After adding participants, you will not be able to modify the surveys in your project without first removing them from the project.
Congratulations, now you have deployed your first TigerAware study. Next, you can help participants start the study and manage their progress.
Comments
0 comments
Please sign in to leave a comment.